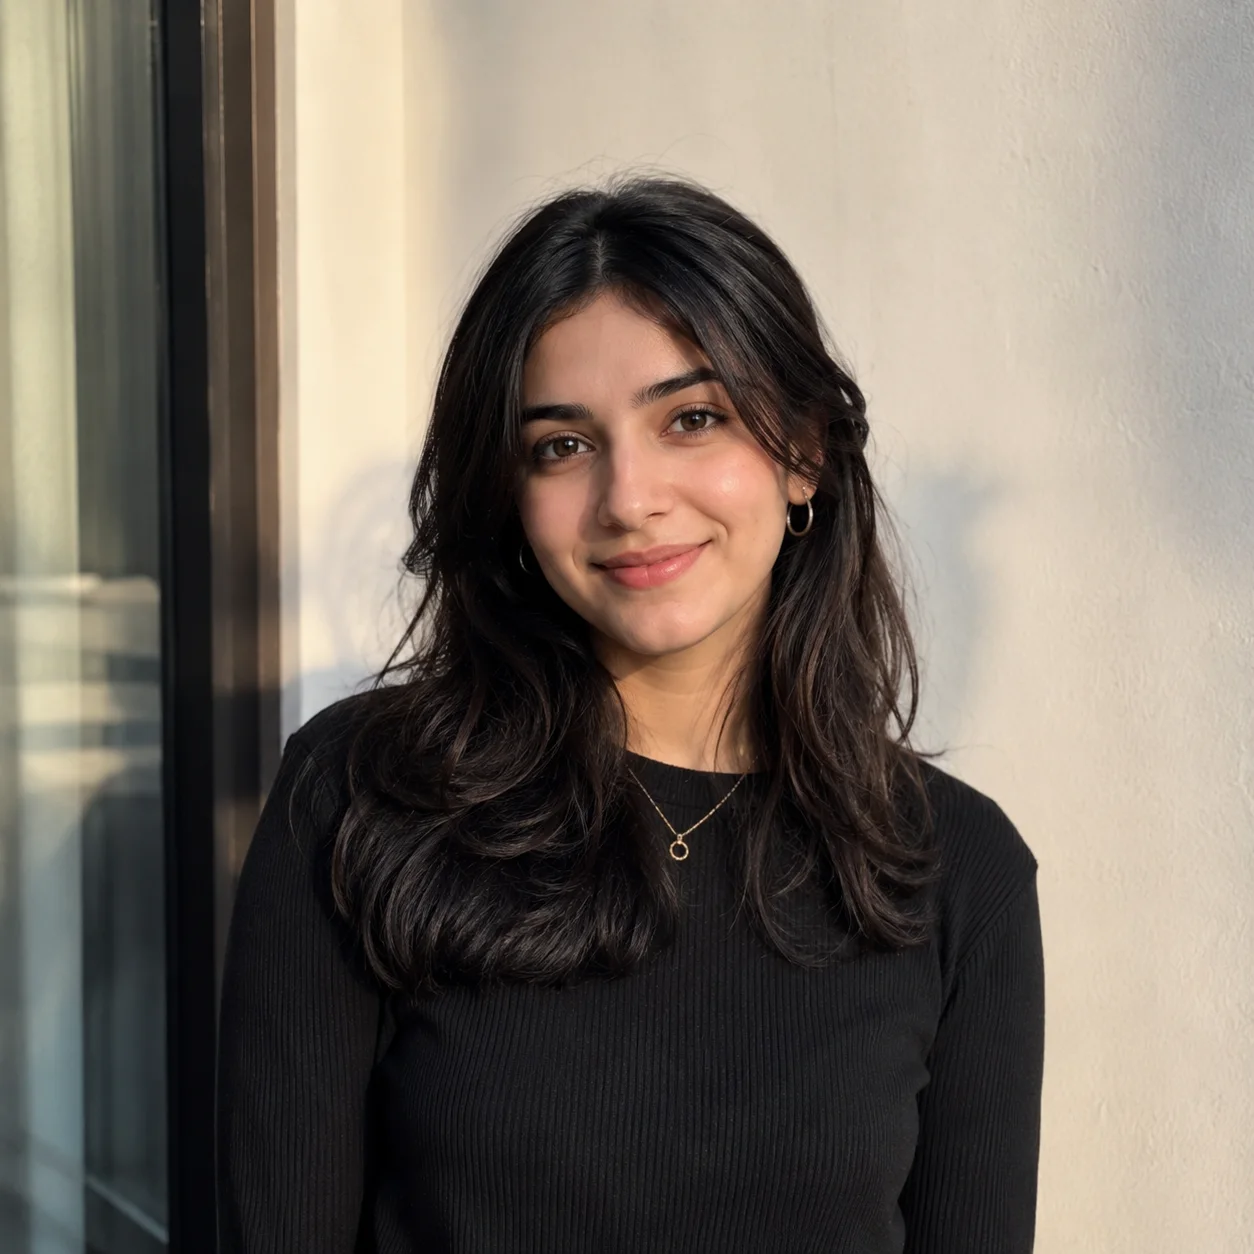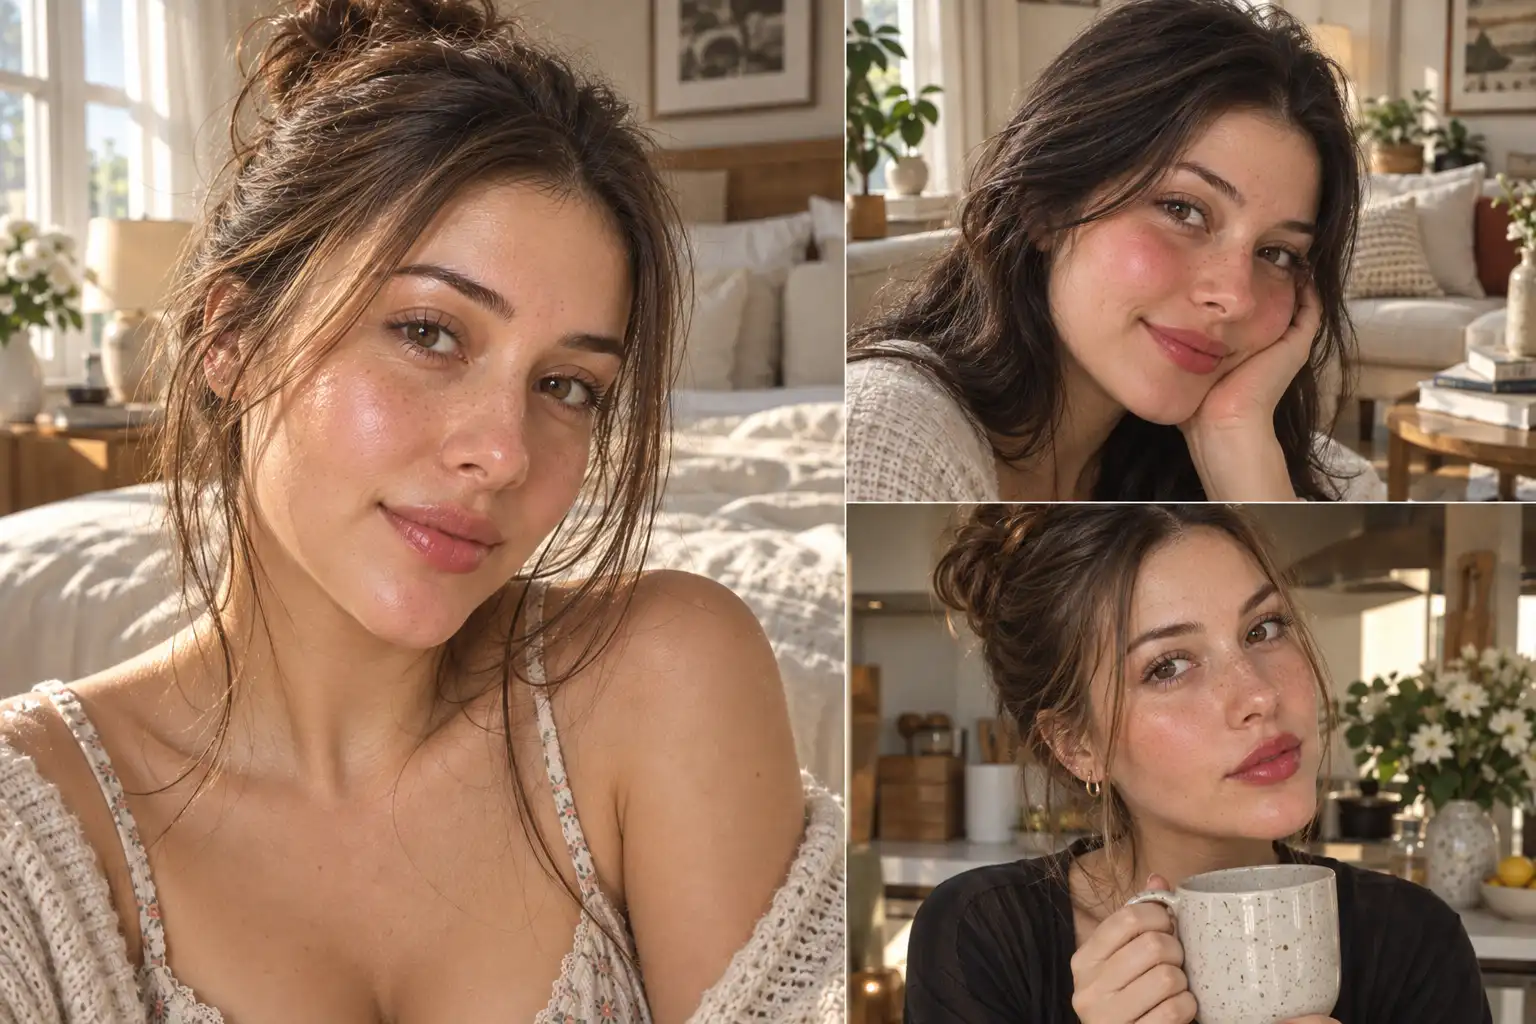
-The no-makeup makeup trend has a reputation for looking effortless, but pulling it off actually depends on genuine precision. Too much product in the wrong spot, and the whole illusion collapses into something that reads as either bare-faced or obviously done up. The real skill lives in the tiny details, a rice-grain amount here, a single finger tap there.
Below are 16 no-makeup makeup looks, each with the exact product, amount, and application technique needed to recreate it convincingly.
16 No-Makeup Makeup Looks Exactly How to Create Them
Every look below leans on genuinely small product amounts and simple, finger-based application, which is really the entire secret behind why these looks read as skin rather than makeup.
More Ideas:
- 10 Skincare Routine Ideas for Every Skin Type and Goal
- How to Smell Good All Day: 7 Easy Tips for Lasting Freshness
- 11 Pink Summer Nail Ideas Trending Right Now
- 11 Lazy Girl Beauty Hacks That Save Real Time in Summer
1. Dewy Skin Base
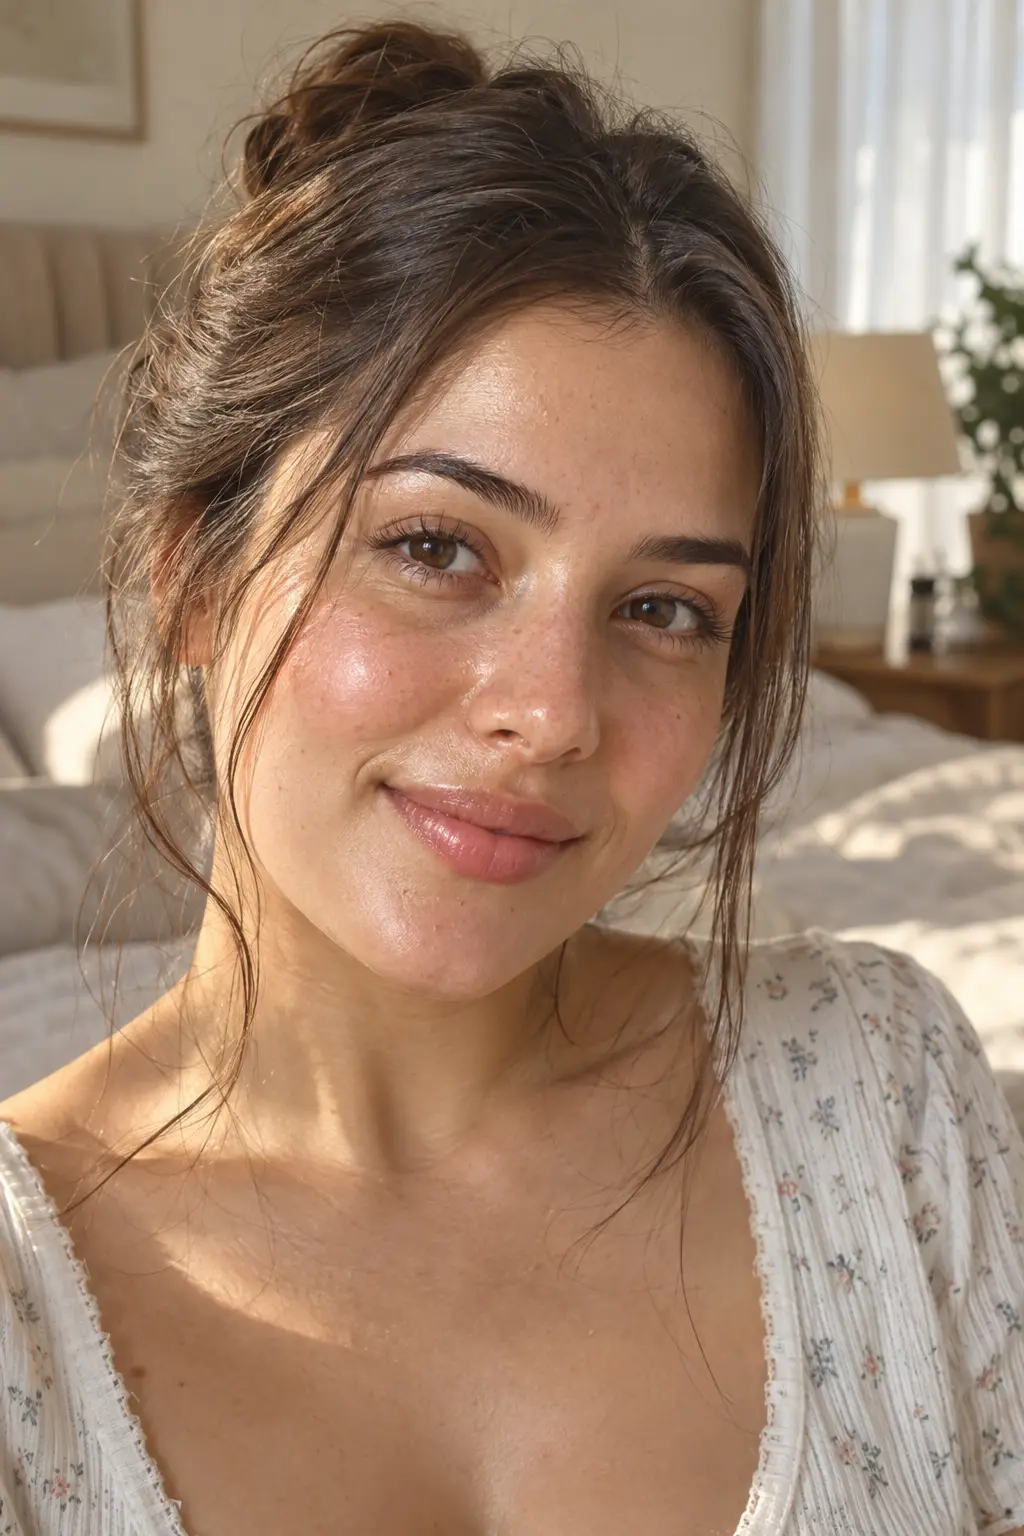
A light coverage tinted moisturizer or BB cream, applied in a pea-size amount and blended with fingers, creates a genuinely skin-like base rather than a visible layer of product sitting on top.
- A pea-size amount of tinted moisturizer or BB cream
- One drop of liquid highlighter mixed directly into the product
- Fingers for blending, warmed slightly before application
- Focus on even coverage rather than full opacity
How to Apply It: Mix one drop of liquid highlighter into the tinted moisturizer in your palm, then use your fingertips to press and blend the mixture outward across the face, starting from the center and working toward the edges.
2. Soft Flush Cheeks
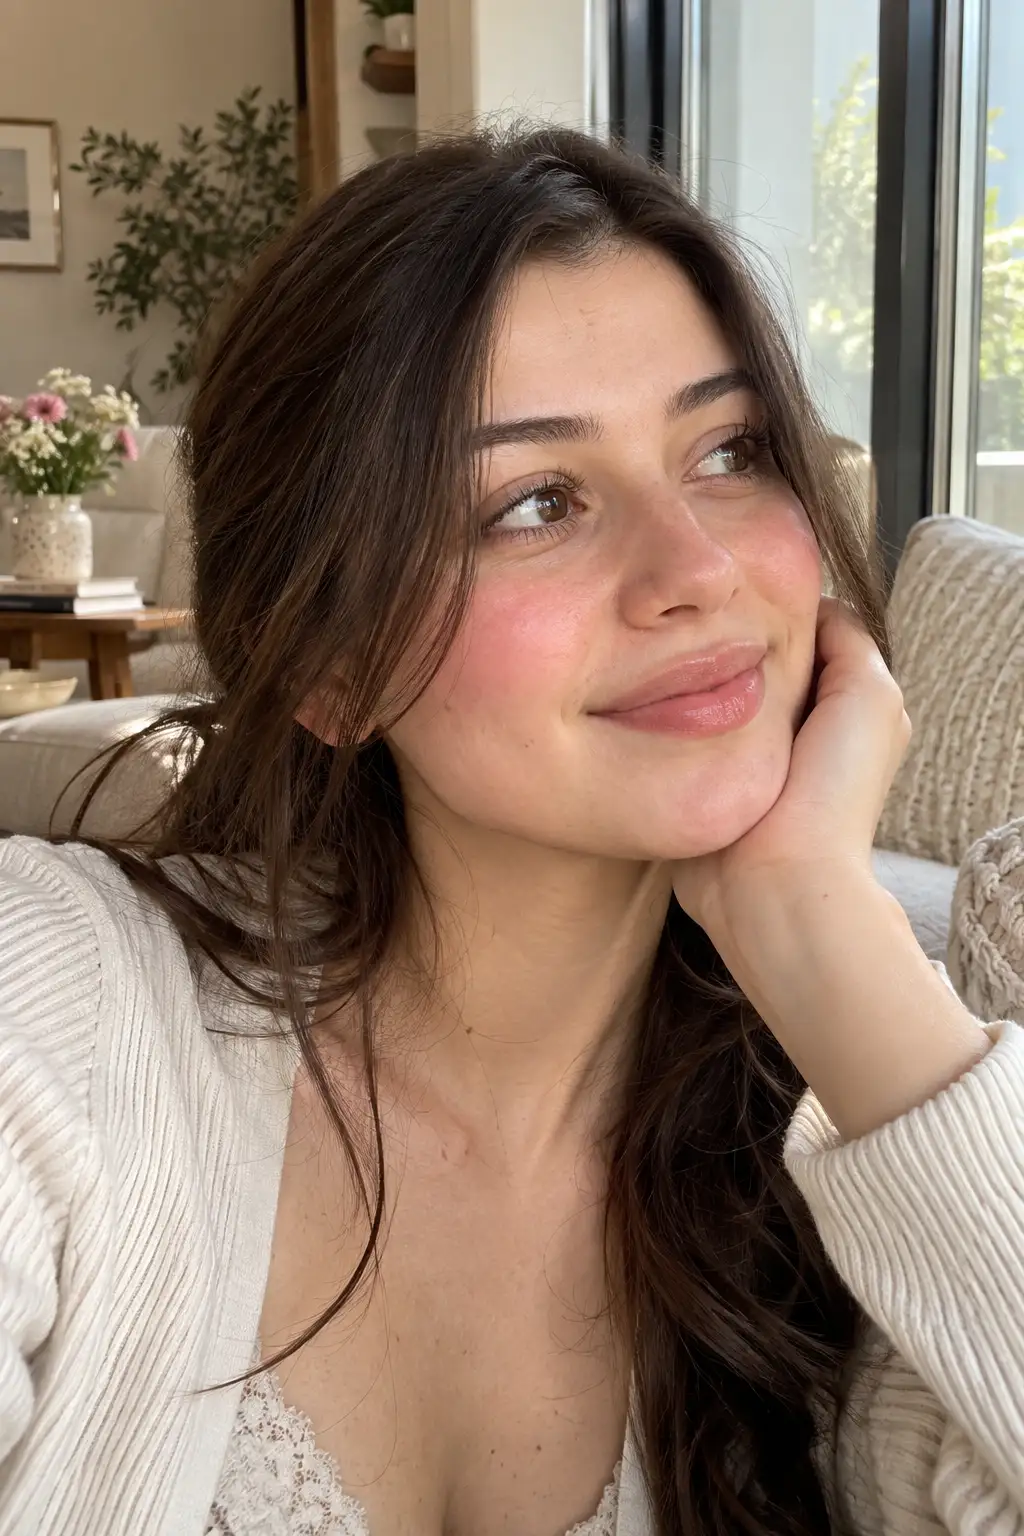
A cream blush applied in a rice-grain amount, placed as three small dots on the apples of the cheeks and blended with tapping fingertips, creates a genuinely natural flush rather than a defined, structured cheek shape.
- A rice-grain amount of cream blush
- Three small dots placed on the apple of each cheek
- Fingertips only, no brushes, for a soft, blended finish
How to Apply It: Place three small dots of cream blush on the apple of each cheek, then use your fingertips to tap, not swipe, the product into the skin until the edges disappear completely.
3. Feathered Brows
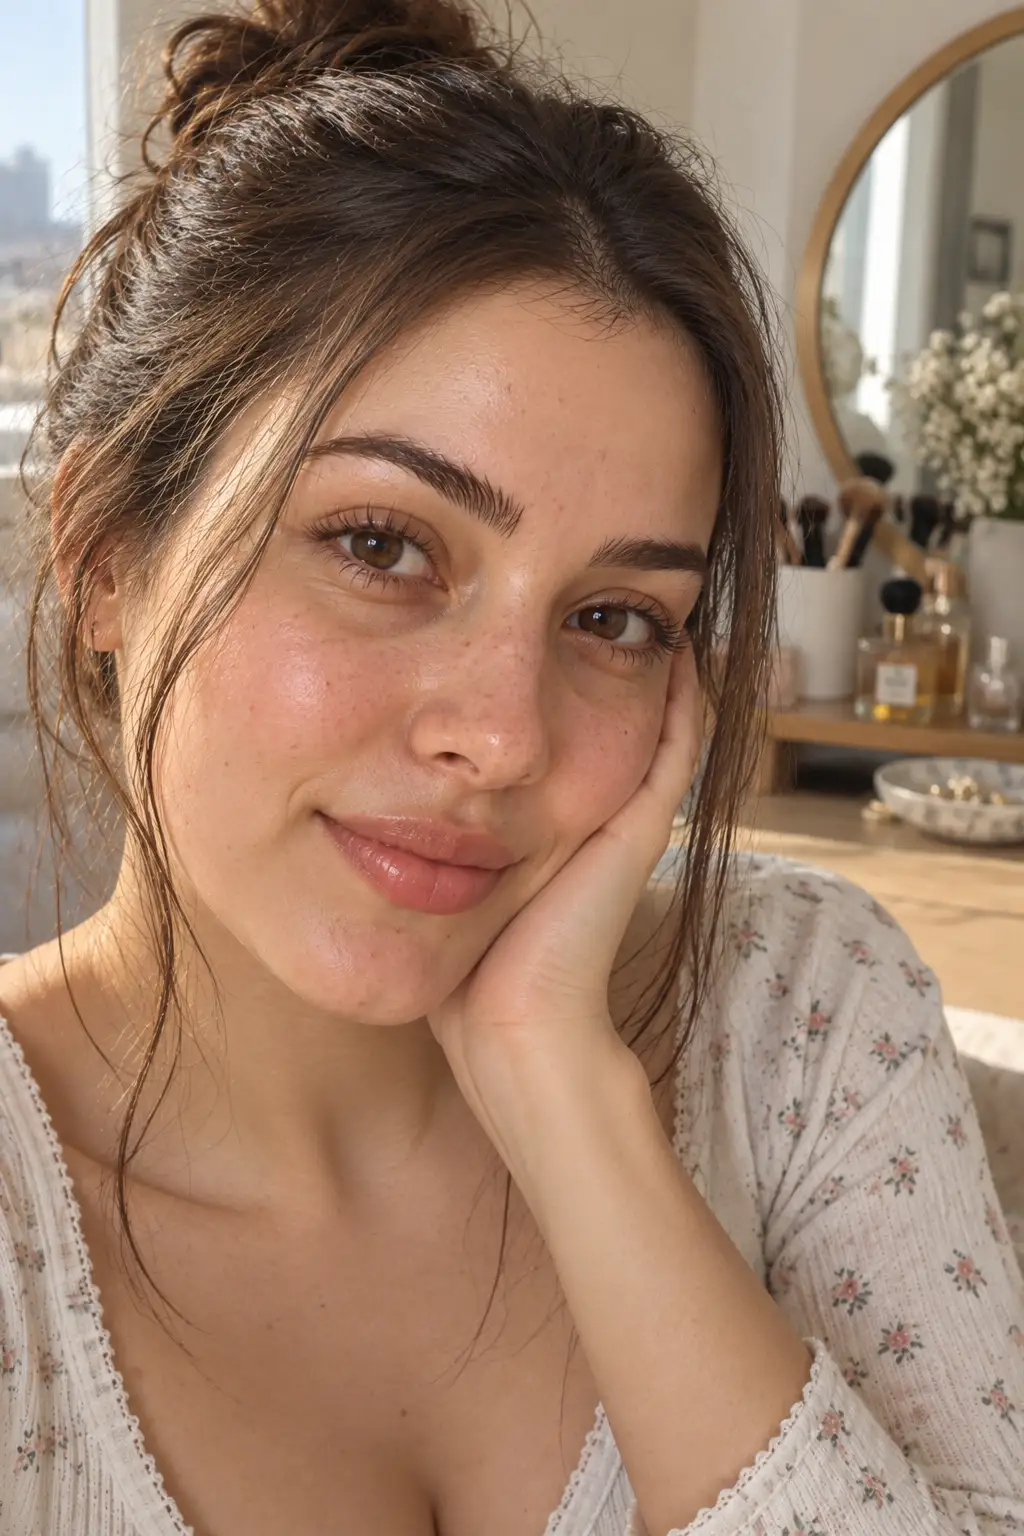
Brushing brows upward with a clear brow gel or spoolie, then adding light strokes of tinted brow gel only where needed, creates fuller-looking brows without any harsh, drawn-on lines.
- Clear brow gel or a clean spoolie brush
- A tinted brow gel for filling gaps
- Two to three light strokes maximum in sparse areas
How to Apply It: Brush the brows upward and outward with clear gel or a spoolie first, then use two to three light strokes of tinted brow gel specifically in any gaps, keeping every other part of the brow untouched.
4. Glass Skin Glow
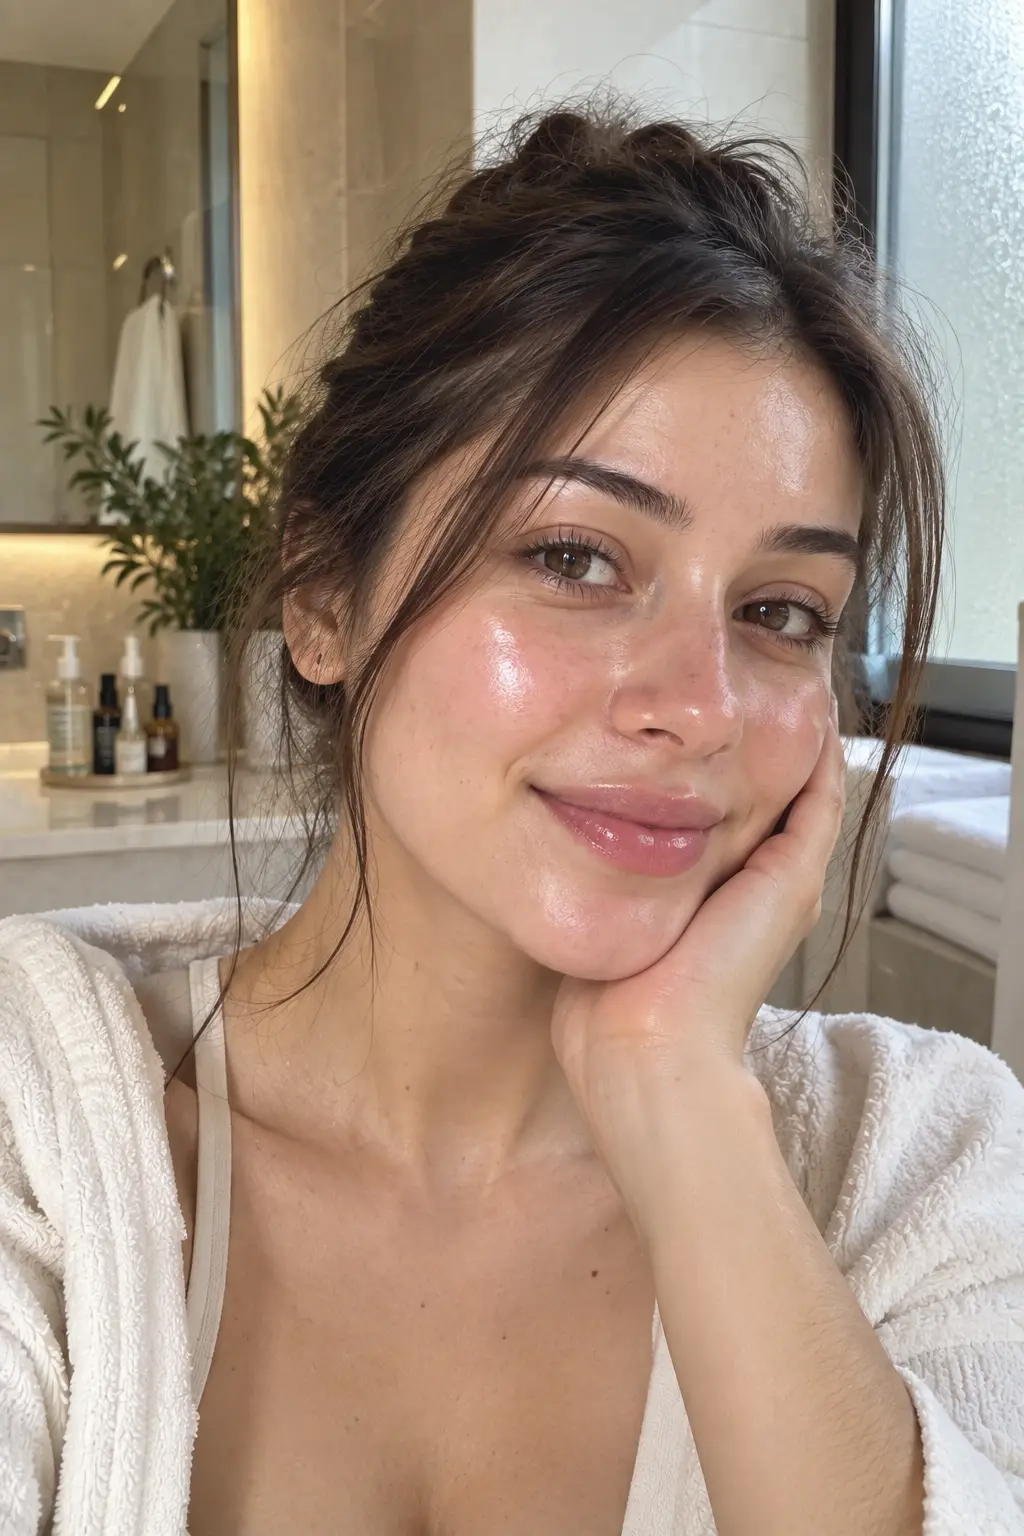
Mixing primer with a hydrating serum before applying a thin layer, then adding cream highlighter to the cheekbones and nose bridge, creates the smooth, luminous look known as glass skin.
- Primer combined with a hydrating serum in equal parts
- A thin, even layer applied across the face
- Cream highlighter dabbed lightly on cheekbones and the nose bridge
How to Apply It: Mix the primer and hydrating serum together in your palm, apply a thin layer evenly across the face with your fingers, then dab a small amount of cream highlighter onto the highest points of the cheekbones and the bridge of the nose.
5. Barely-There Concealer
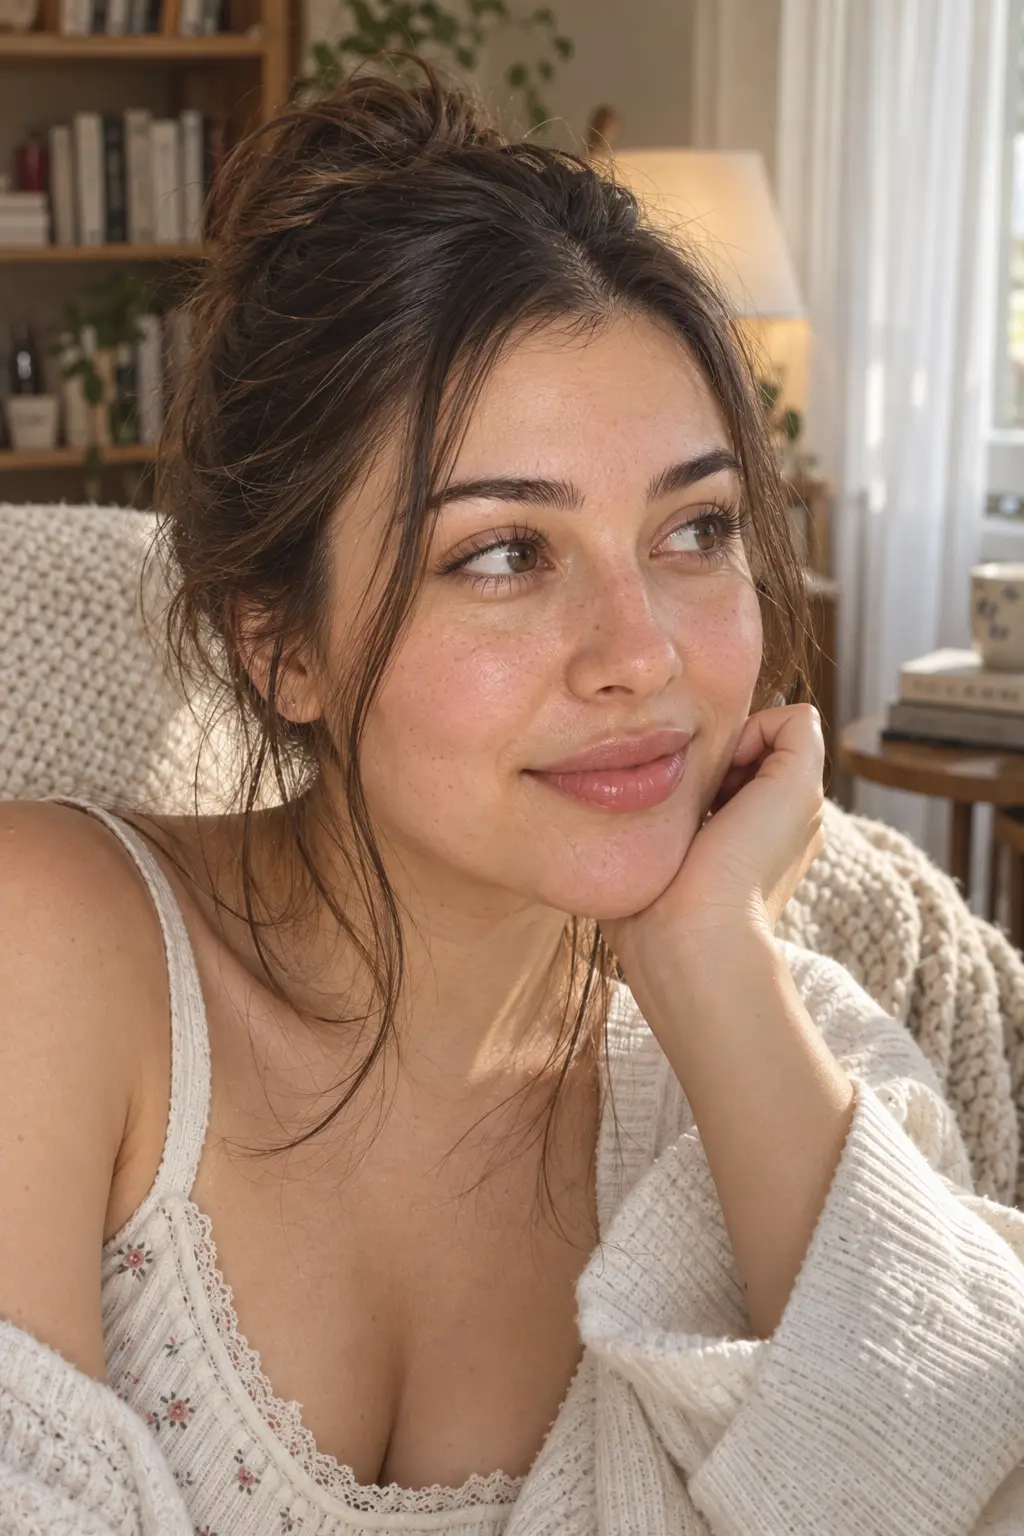
Applying concealer only under the eyes and along the sides of the nose, in a rice-grain amount patted in with a damp sponge, targets specific areas without covering the entire face in product.
- A rice-grain amount of concealer per area
- Application limited to under-eyes and the sides of the nose
- A damp makeup sponge for patting, never full-face application
How to Apply It: Dot a rice-grain amount of concealer under each eye and along the sides of the nose only, then pat gently with a damp sponge until the product melts into the skin without any visible edges.
6. Tinted Lip Balm
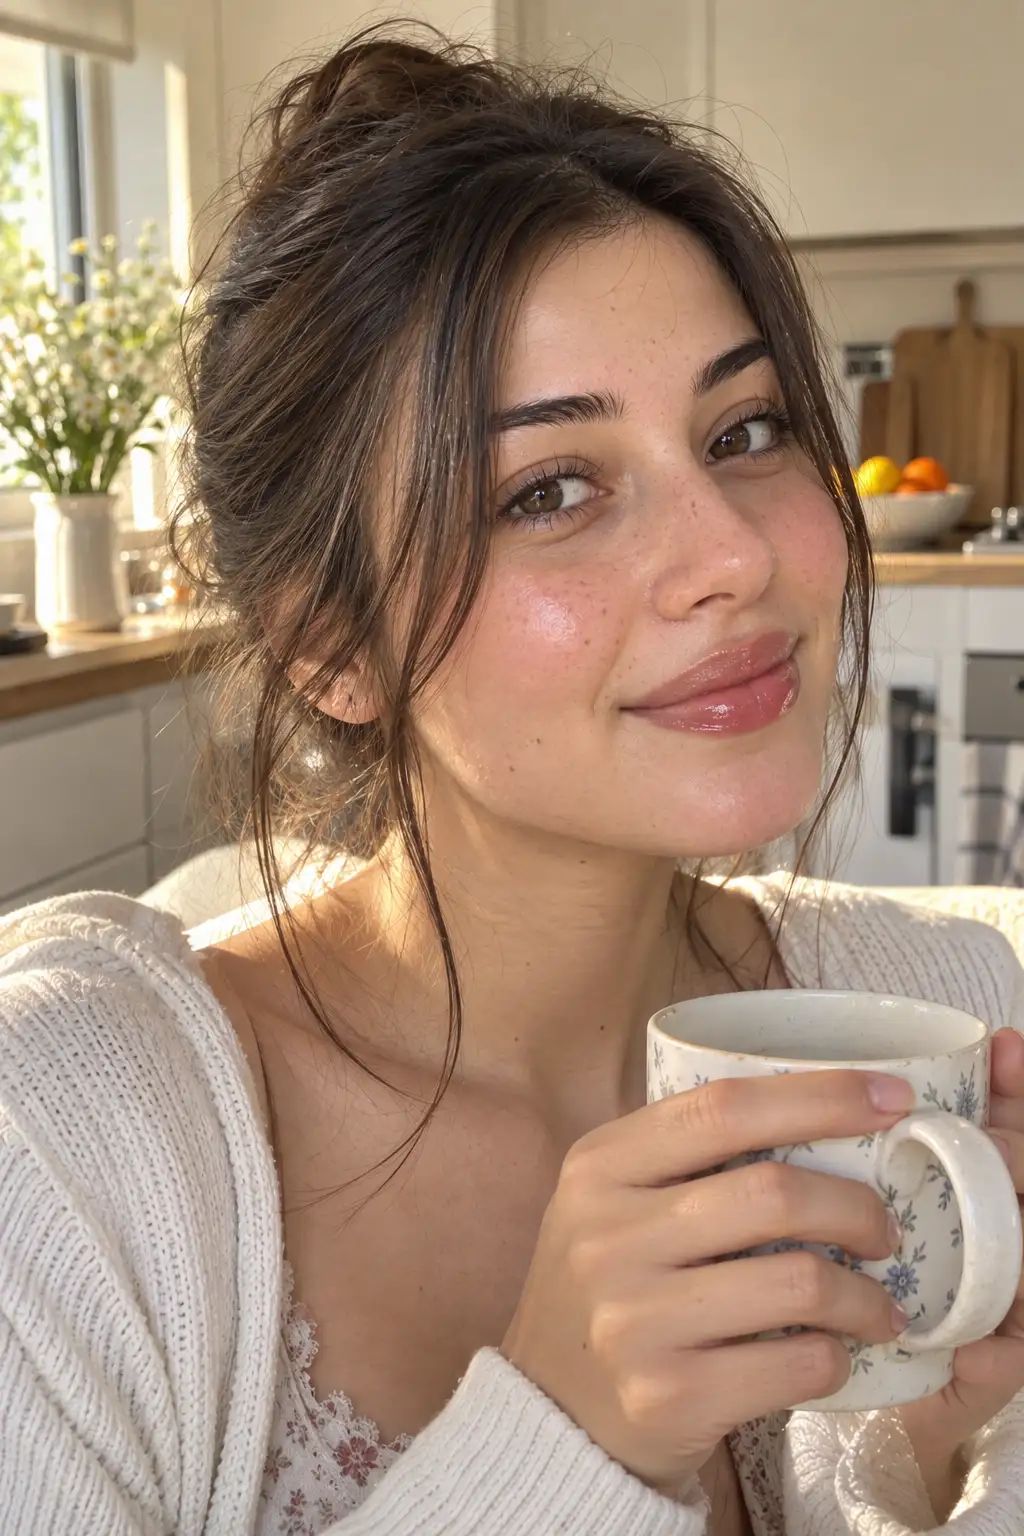
A single swipe of sheer tinted balm, topped with a small amount of plain petroleum jelly, creates a soft, glossy lip finish with barely any visible color.
- One swipe of sheer tinted lip balm
- A small amount of plain petroleum jelly layered on top
- No lip liner or additional product
How to Apply It: Swipe the tinted balm across the lips once, then dab a small amount of petroleum jelly over the top for extra shine and a fuller, glossy finish.
7. Soft Bronze Wash
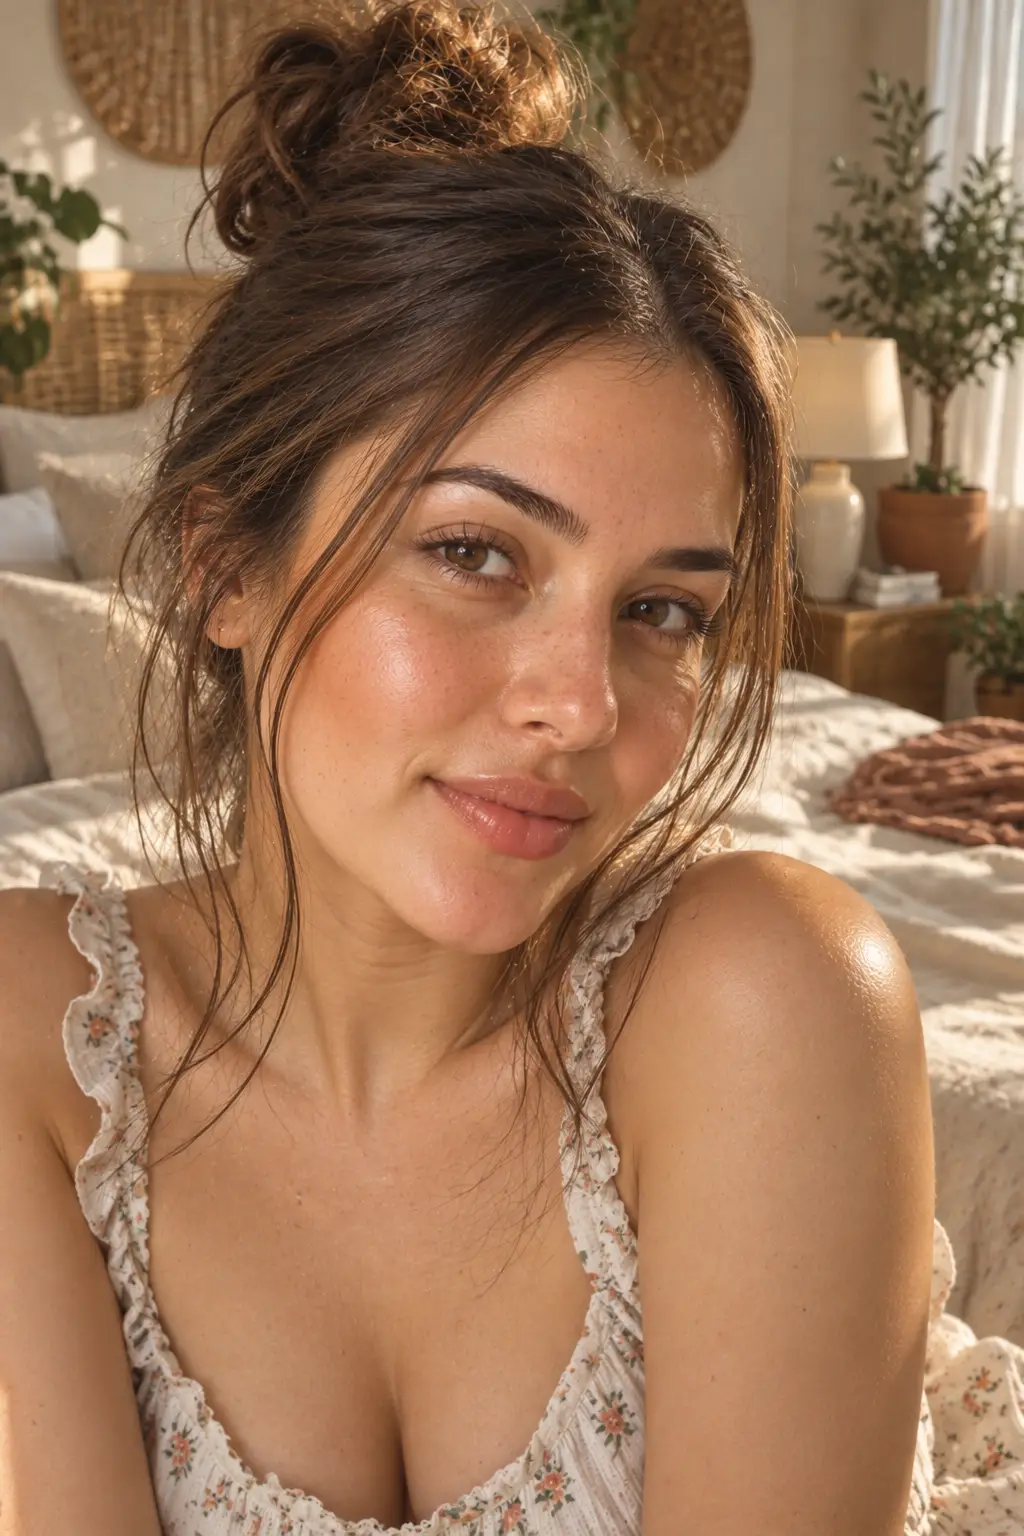
A small dot of cream bronzer placed on the forehead, cheeks, and chin, blended with fingers, mimics the look of sun-kissed skin without any visible bronzer lines.
- A small dot of cream bronzer per area
- Placement on the forehead, cheeks, and chin edges only
- Fingers for blending, working outward from each dot
How to Apply It: Place a small dot of cream bronzer on the forehead, both cheeks, and the chin, then blend outward with your fingers until each spot fades seamlessly into the surrounding skin.
8. Clean Lashes Only
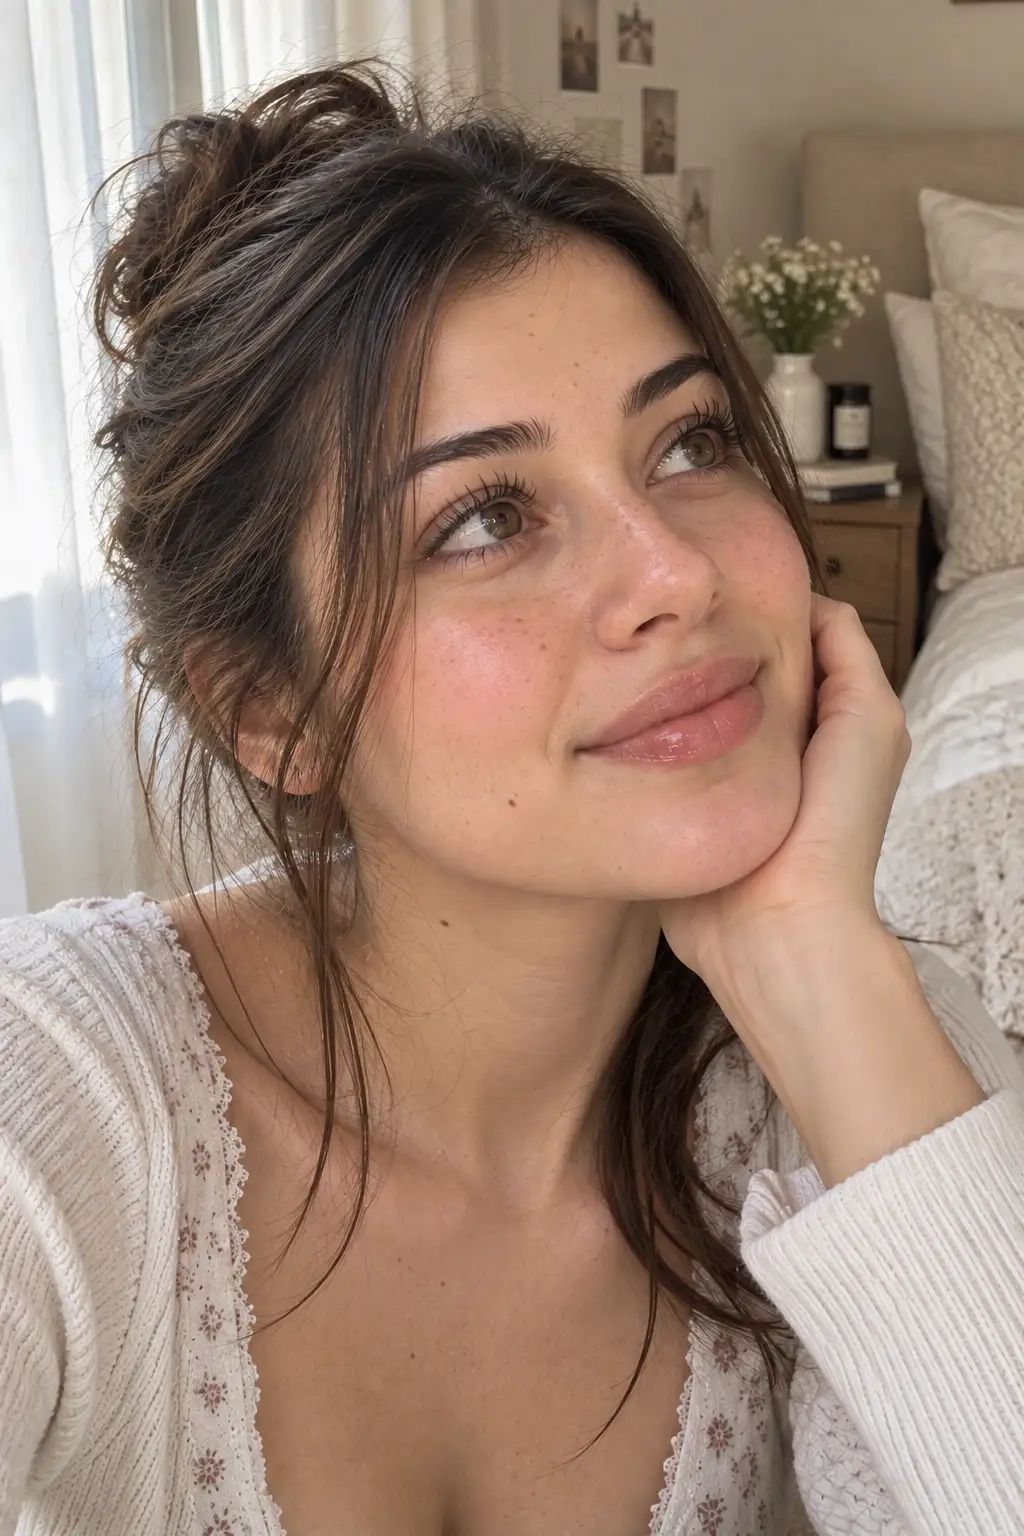
A single coat of mascara, applied with a wiggling motion from root to tip after curling the lashes, opens up the eyes without adding any additional eye makeup.
- One coat of mascara only
- A lash curler used before mascara application
- A wiggling motion from the base of the lash to the tip
How to Apply It: Curl the lashes first, then apply a single coat of mascara using a gentle wiggling motion as you move the wand from the roots to the tips of the lashes.
9. Freckle Illusion
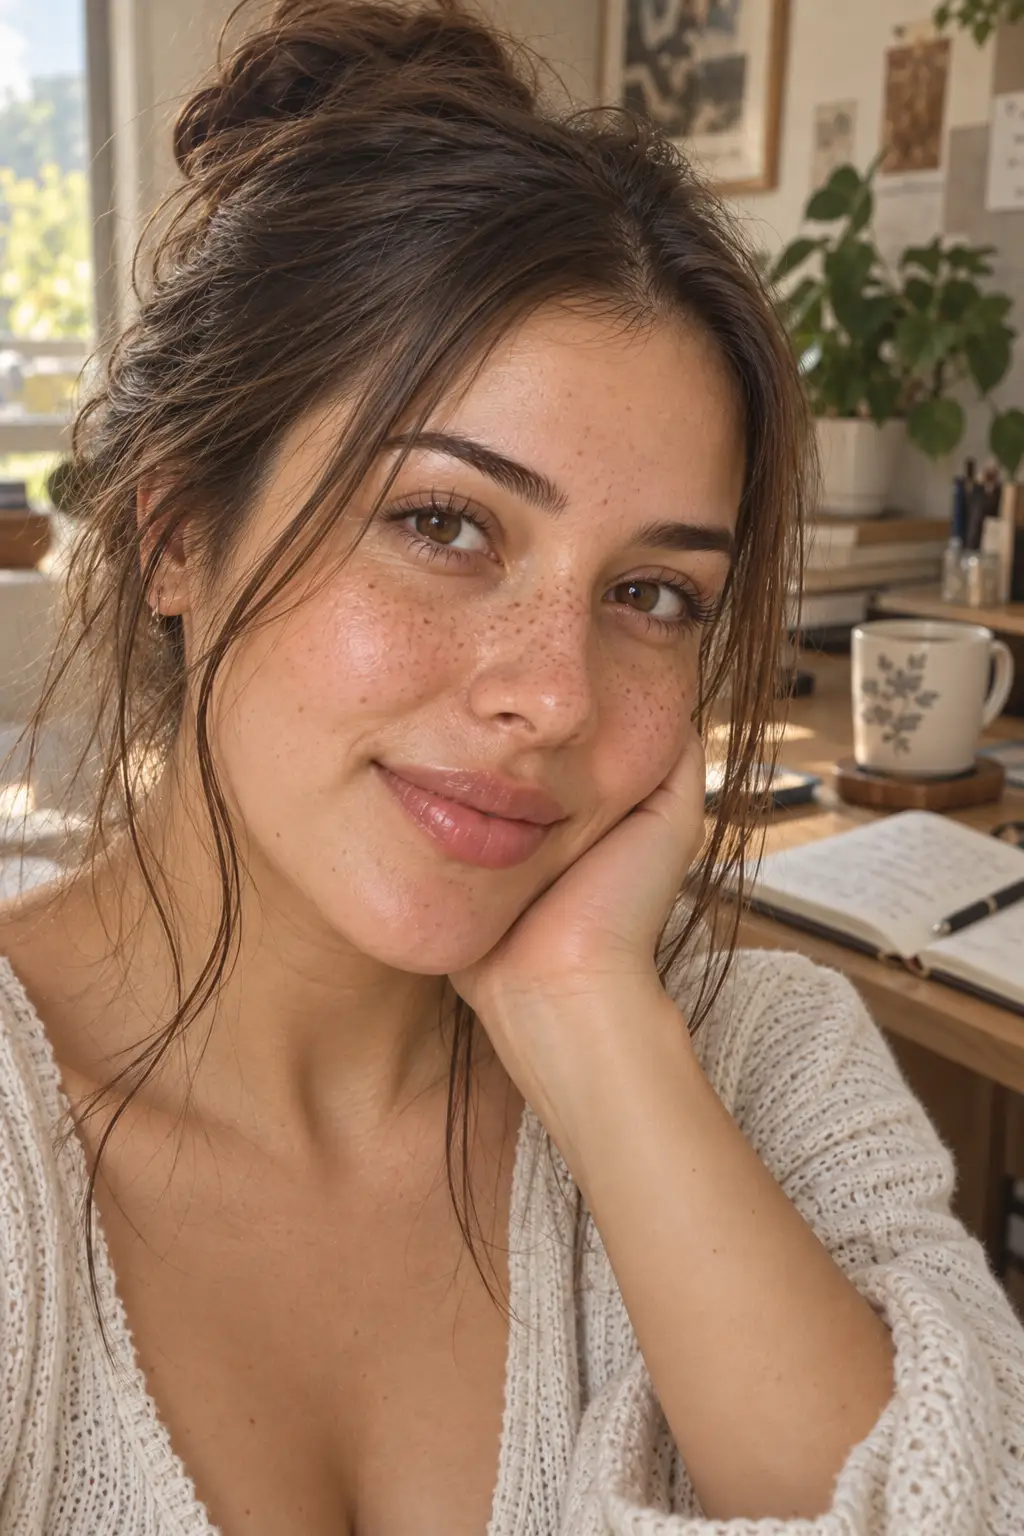
Random light dots drawn with a brown eyebrow pencil or dedicated freckle pen across the nose and cheeks, then smudged slightly with a cotton bud, create the look of natural, sun-kissed freckles.
- A brown eyebrow pencil or freckle pen
- Random, light dot placement across the nose and cheeks
- A cotton bud for softening and smudging each dot
How to Apply It: Draw small, randomly spaced dots across the nose and upper cheeks using a brown pencil or freckle pen, then lightly smudge each dot with a cotton bud so the edges soften into a natural, sun-kissed appearance.
10. Skin-Tint and Cream Blush Combo
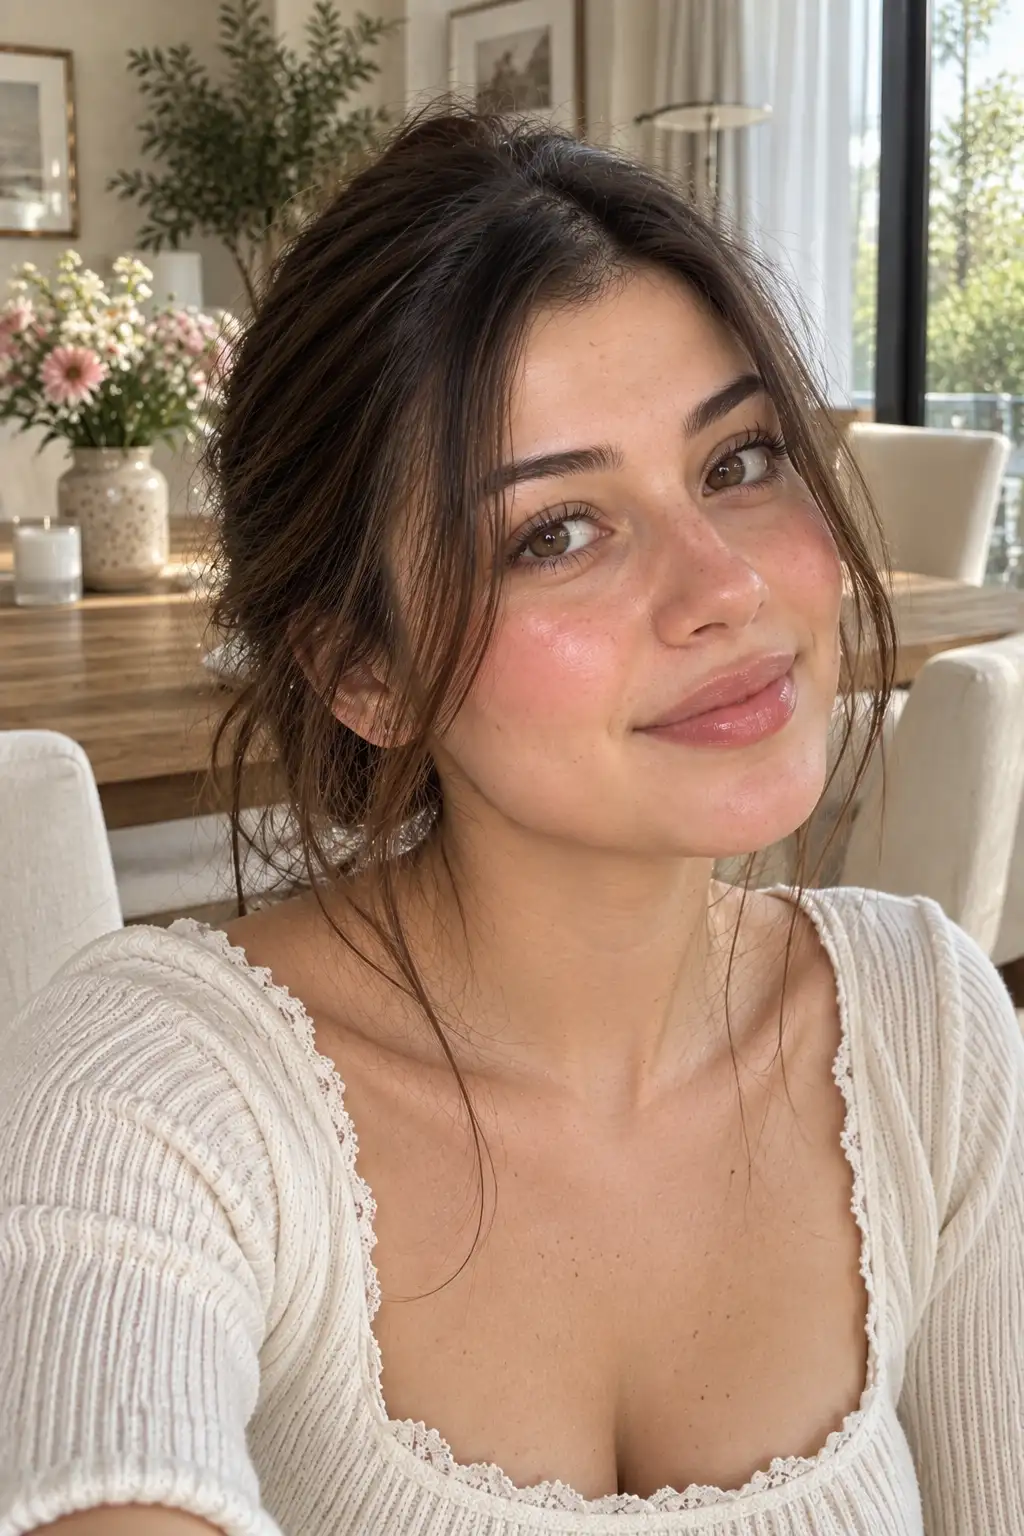
Mixing a small amount of the same skin tint used on the face with cream blush lets a single product handle both base coverage and cheek color, keeping the routine genuinely efficient.
- Skin tint applied across the entire face first
- A small amount of cream blush mixed into leftover tint
- Application on the cheeks using the same fingers already in use
How to Apply It: Apply skin tint across the whole face as usual, then mix a small amount of cream blush into any leftover tint remaining on your fingers and pat that mixture directly onto the cheeks.
11. Soft Peachy Eyes
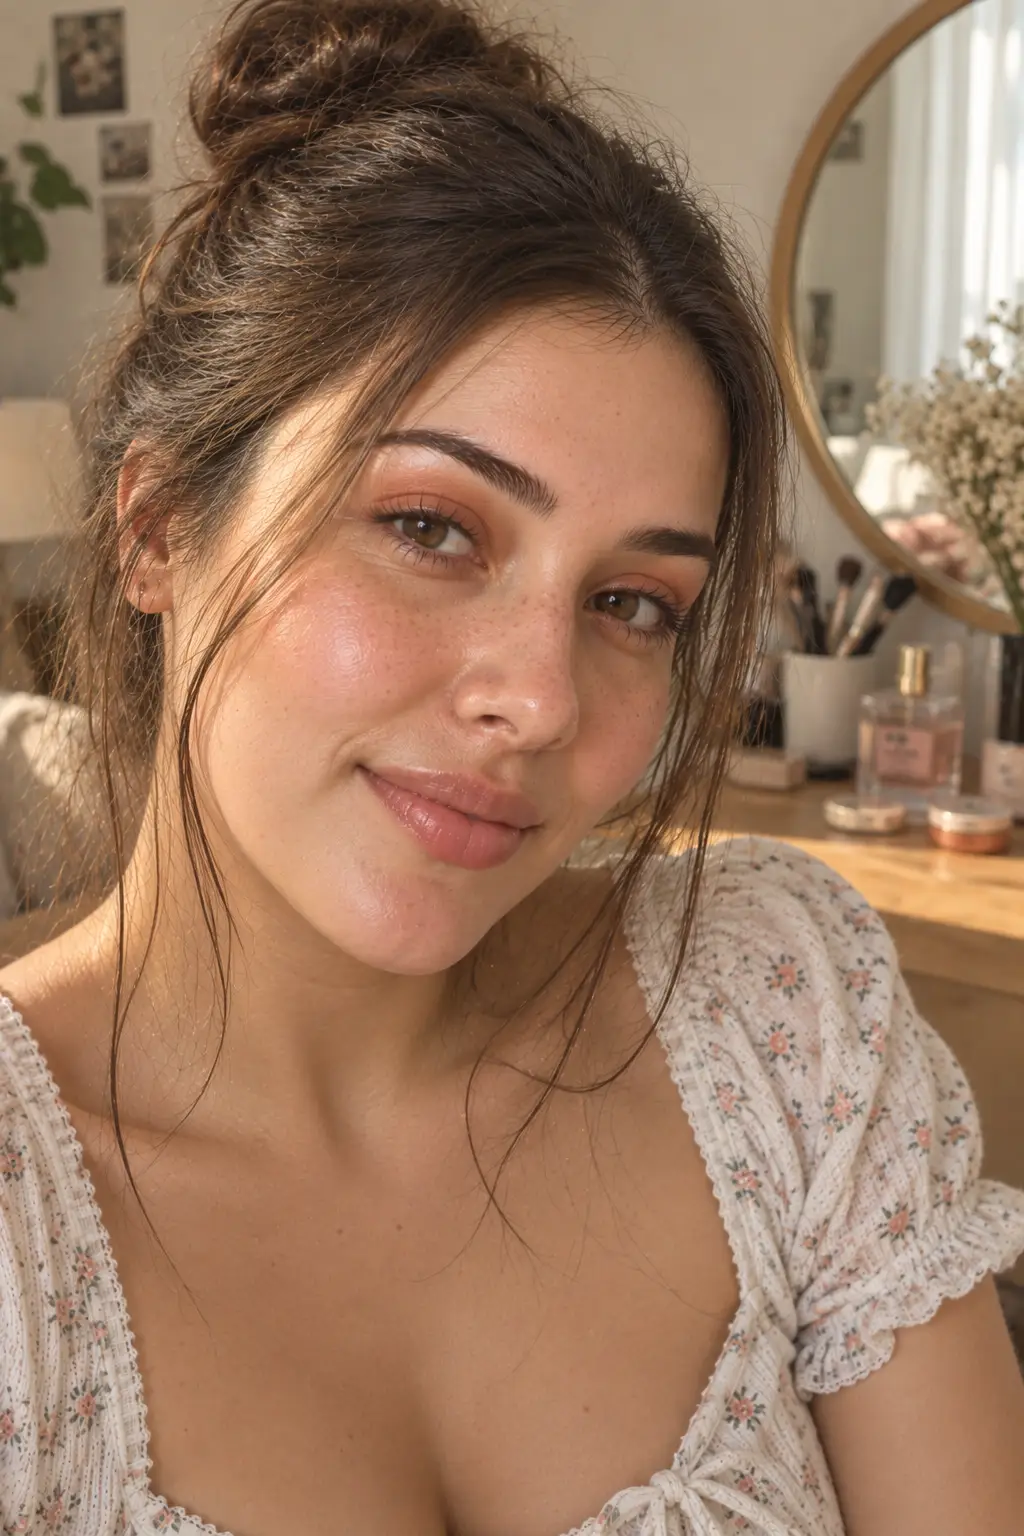
A peach or nude cream eyeshadow stick swiped once across the lids and blended with a finger, with no crease work involved, delivers a genuinely quick, barely-there eye look.
- A peach or nude cream eyeshadow stick
- One swipe across each eyelid
- A single finger for blending, no brushes or crease definition
How to Apply It: Swipe the cream eyeshadow stick once across each eyelid, then use one finger to blend the color evenly without attempting any crease or definition work.
12. Glossy Clean Lids
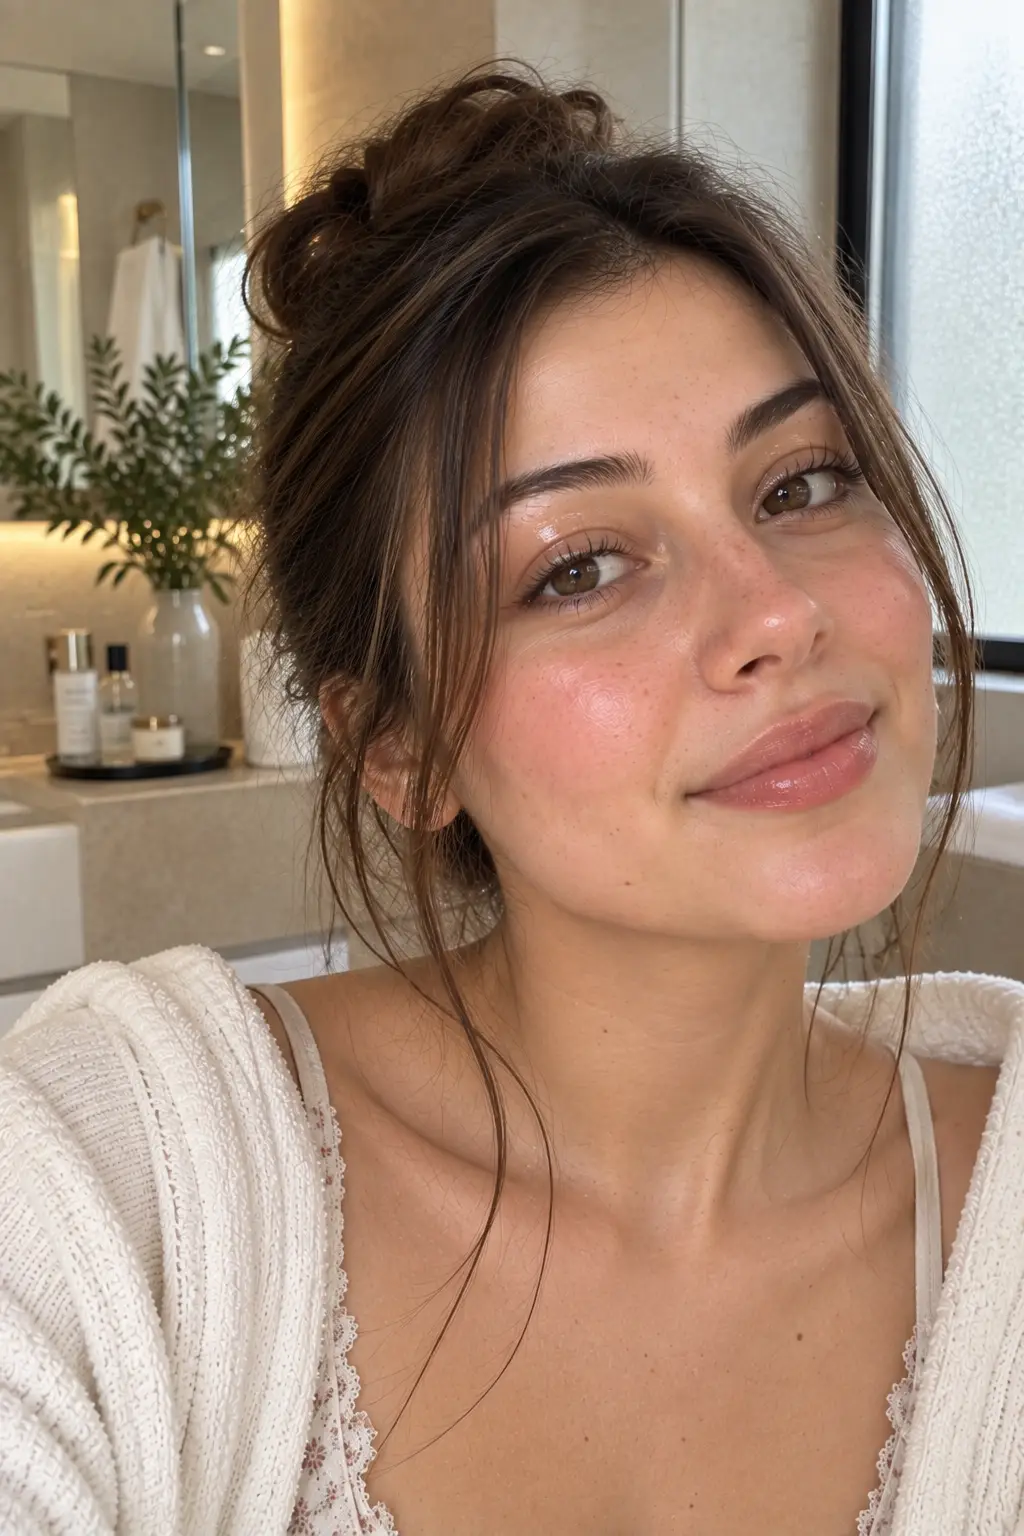
A small amount of clear lip gloss applied to the eyelids creates a wet-glass eye effect, a genuinely minimal trend that skips eyeshadow entirely.
- A small amount of clear lip gloss
- Application limited to the center of the lid
- No additional eyeshadow or liner
How to Apply It: Using a clean fingertip, pat a small amount of clear lip gloss onto the center of each eyelid, avoiding the inner and outer corners to keep the product from migrating into the crease.
13. Sheer Wash of Color Lips
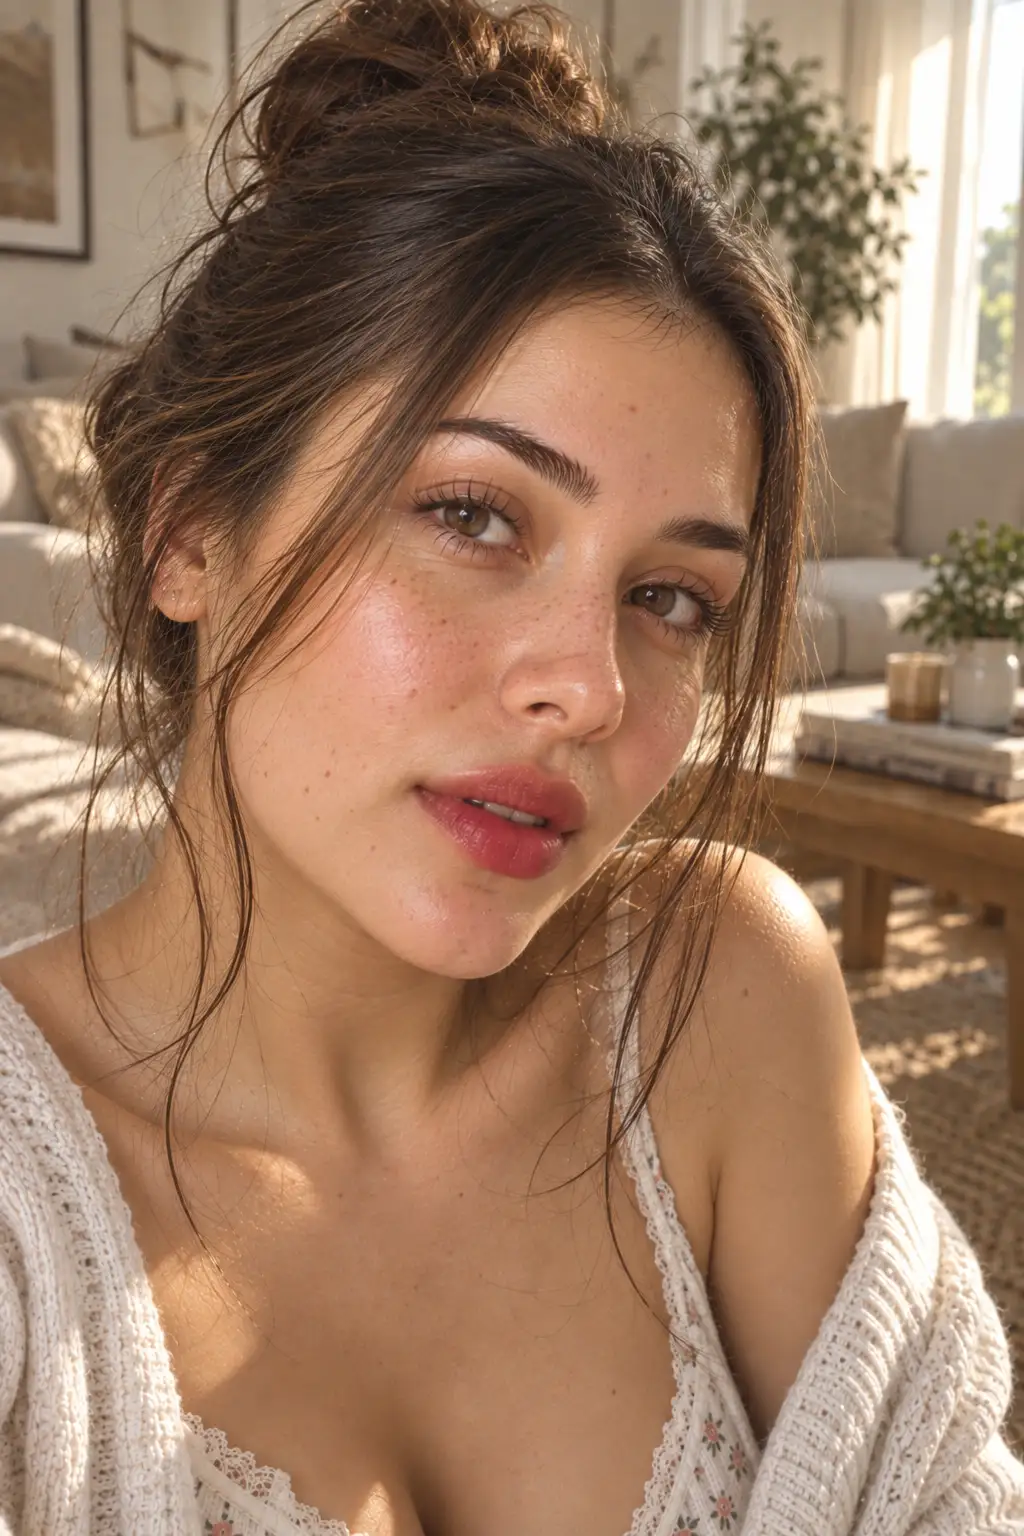
A lip stain dabbed only at the center of the lips, then blended by pressing the lips together, creates a gradient effect with more color in the middle and a sheer fade toward the edges.
- A lip stain, dabbed only at the center of the lips
- Lips pressed together to blend and distribute the color
- No product applied directly to the outer edges
How to Apply It: Dab the lip stain directly onto the center of the lips only, then press the lips together several times to blend the color outward, leaving the edges naturally sheer.
14. Highlighted Cupid’s Bow
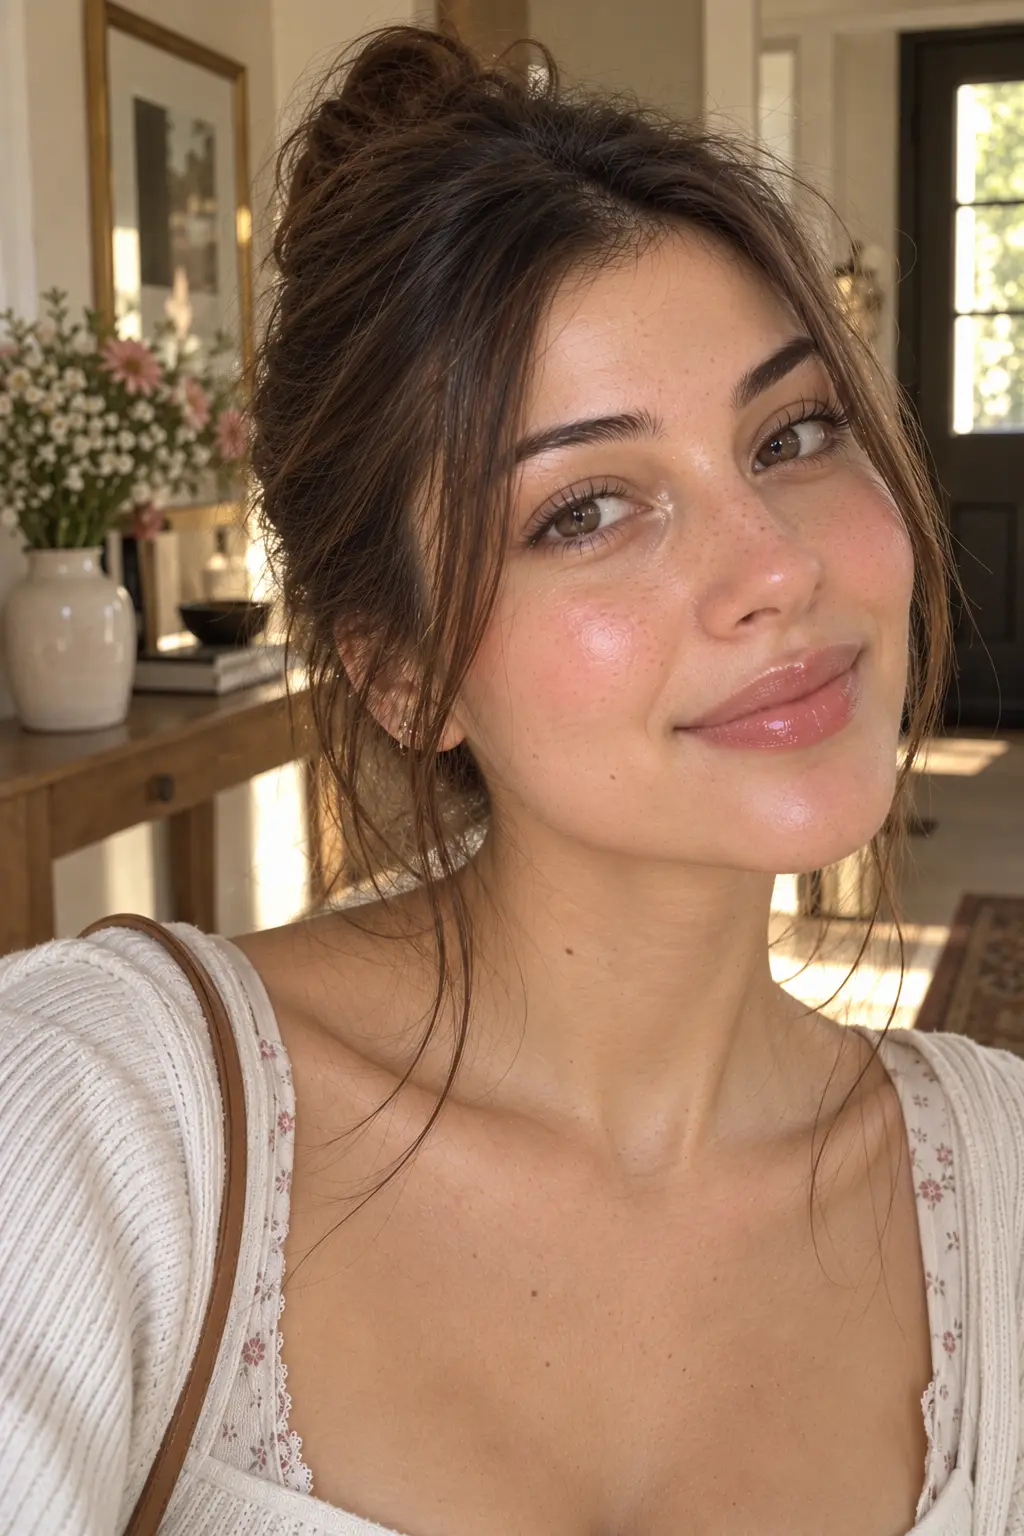
A small dot of highlighter placed on the cupid’s bow of the upper lip and the inner corners of the eyes creates an instant, fresh-faced brightening effect with minimal product.
- A small dot of highlighter for the cupid’s bow
- A small dot of highlighter for each inner eye corner
- A fingertip for precise, targeted application
How to Apply It: Tap a small dot of highlighter directly onto the center of the cupid’s bow and another small dot into each inner eye corner, blending gently with a fingertip.
15. Soft Setting Powder Only Where Needed
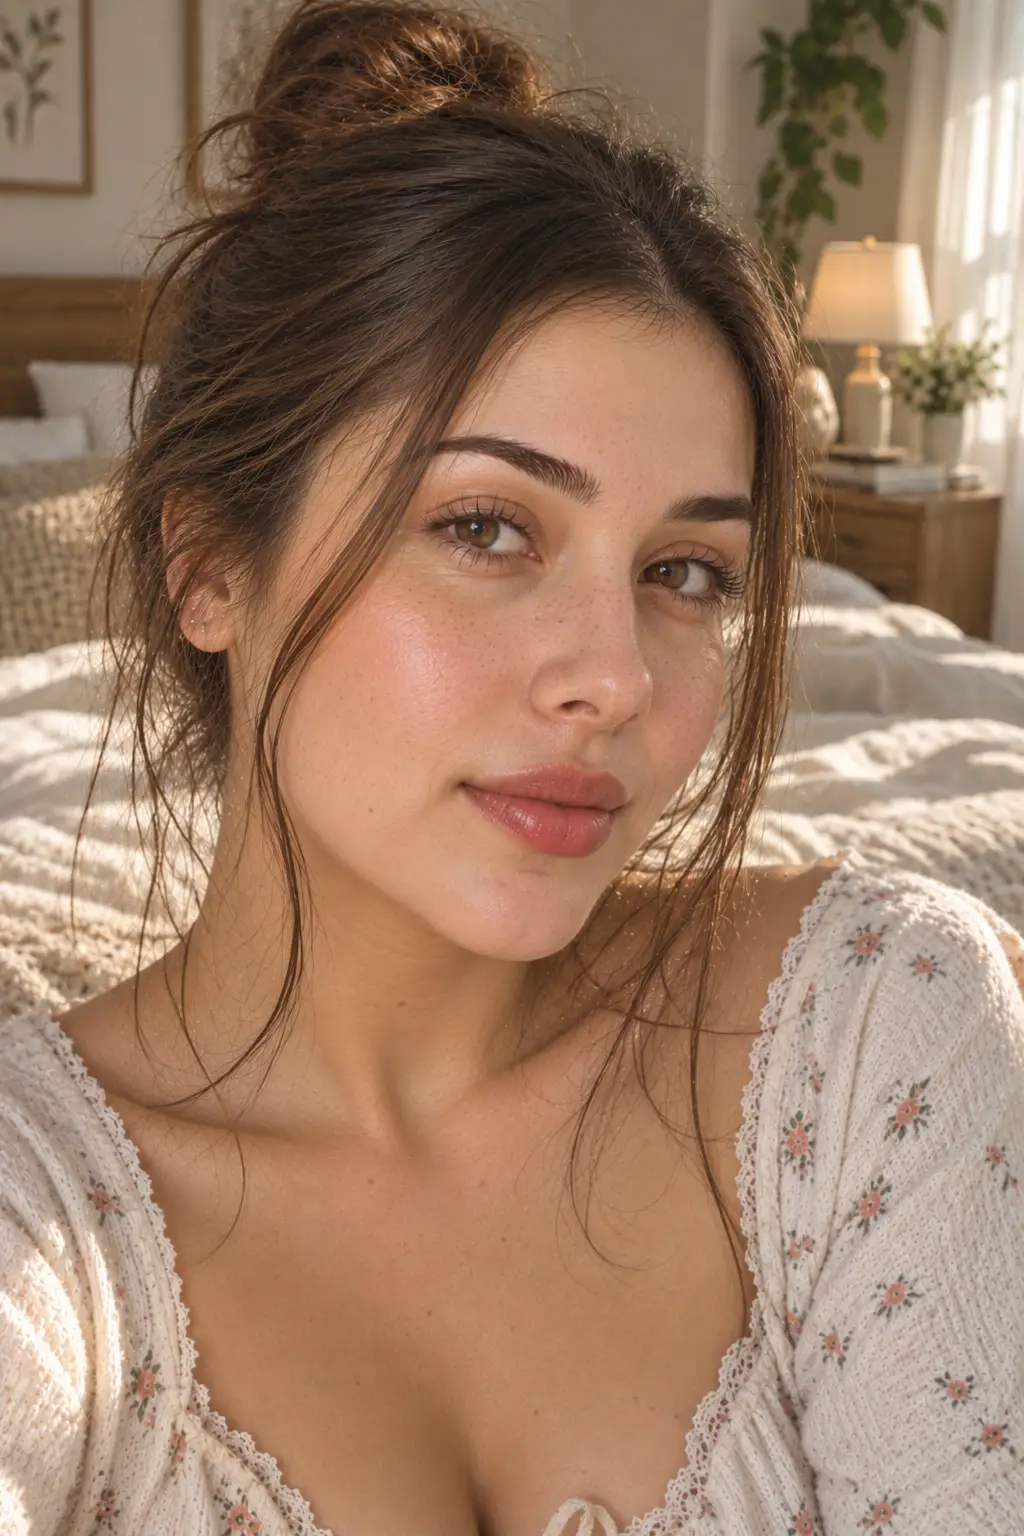
Dusting translucent powder lightly across just the T-zone, while leaving the rest of the face with its natural shine intact, controls oil without flattening the skin’s overall glow.
- Translucent powder, applied only to the nose and forehead
- A light dusting rather than full coverage
- The rest of the face left with natural shine intact
How to Apply It: Lightly dust translucent powder across the T-zone only, using a fluffy brush and a gentle tapping motion, while leaving the cheeks and rest of the face untouched.
16. Full Skin-First Look
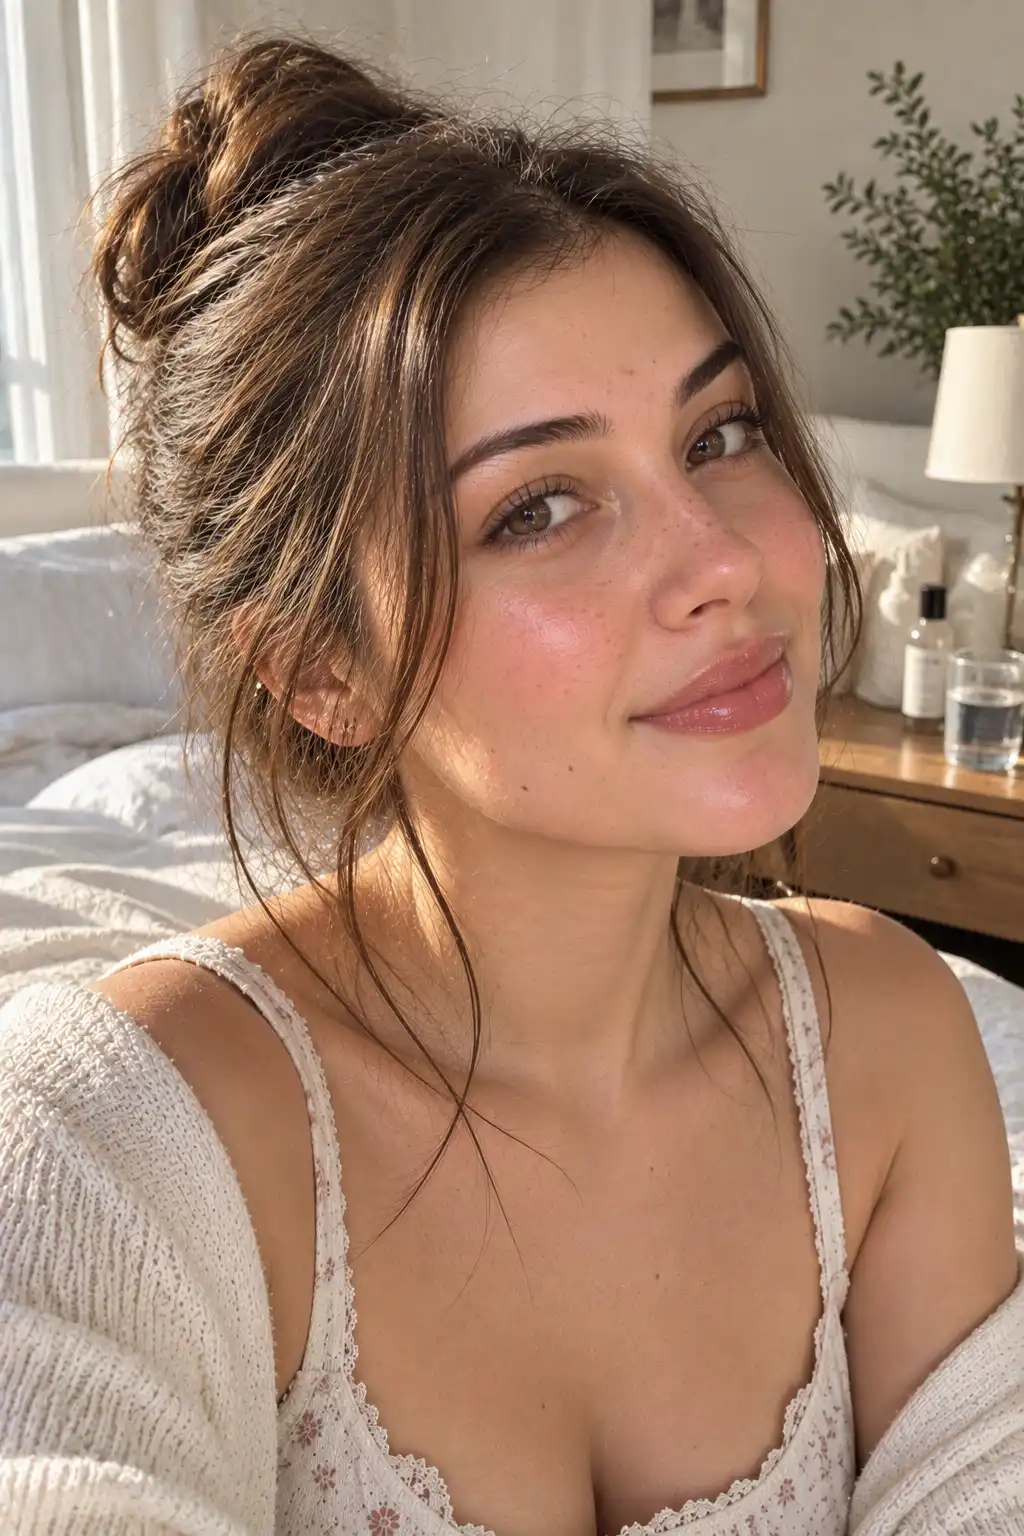
Sunscreen, moisturizer, tinted lip balm, and mascara make up the entire routine here, skipping every base product entirely and focusing purely on skin health rather than coverage.
- Sunscreen as the first step
- Moisturizer layered on top
- Tinted lip balm for the lips
- Mascara as the only eye product
How to Apply It: Apply sunscreen and moisturizer as your only skin preparation, add a swipe of tinted lip balm, and finish with a single coat of mascara, skipping foundation, concealer, and blush entirely.
The One Rule Every Look on This List Follows
If there is a single principle tying all 16 of these looks together, it is this: use noticeably less product than instinct tells you to, and reach for your fingers over a brush almost every time.
- Fingers warm the product slightly, which helps it melt into the skin rather than sitting on top
- Smaller amounts, rice-grain or pea-size, prevent any single feature from looking overly done
- Brushes tend to leave more visible, structured edges than fingertips do
- Blending outward from a central point consistently reads as more natural than a fully covered area
Once this principle becomes automatic, nearly any of these 16 looks becomes considerably easier to recreate consistently, since the technique matters more than the specific product used.
Mistakes That Break the Illusion
A few common missteps can undo an otherwise convincing no-makeup look, so it is worth watching for these specifically.
- Applying concealer across the entire face instead of only the areas that genuinely need it
- Using a brush instead of fingers for cream products, which creates harder, more visible edges
- Overloading the freckle illusion with too many dots placed in an obviously symmetrical pattern
- Skipping the blending step on bronzer or blush, leaving a visible, defined edge instead of a soft fade
- Setting the entire face with powder rather than targeting just the T-zone, which flattens the skin’s natural shine
Final Thoughts
A genuinely convincing no-makeup makeup look comes down to restraint far more than skill. As these 16 looks show, a rice-grain amount of product, a few fingertip taps, and a willingness to leave most of the face completely untouched are what separate a believable, skin-like finish from something that quietly reads as makeup after all.
Pick two or three of these techniques to start with, practice the fingertip blending method until it feels automatic, and build outward from there. The entire trend depends on the details staying small enough that nobody can quite point to what you actually did.