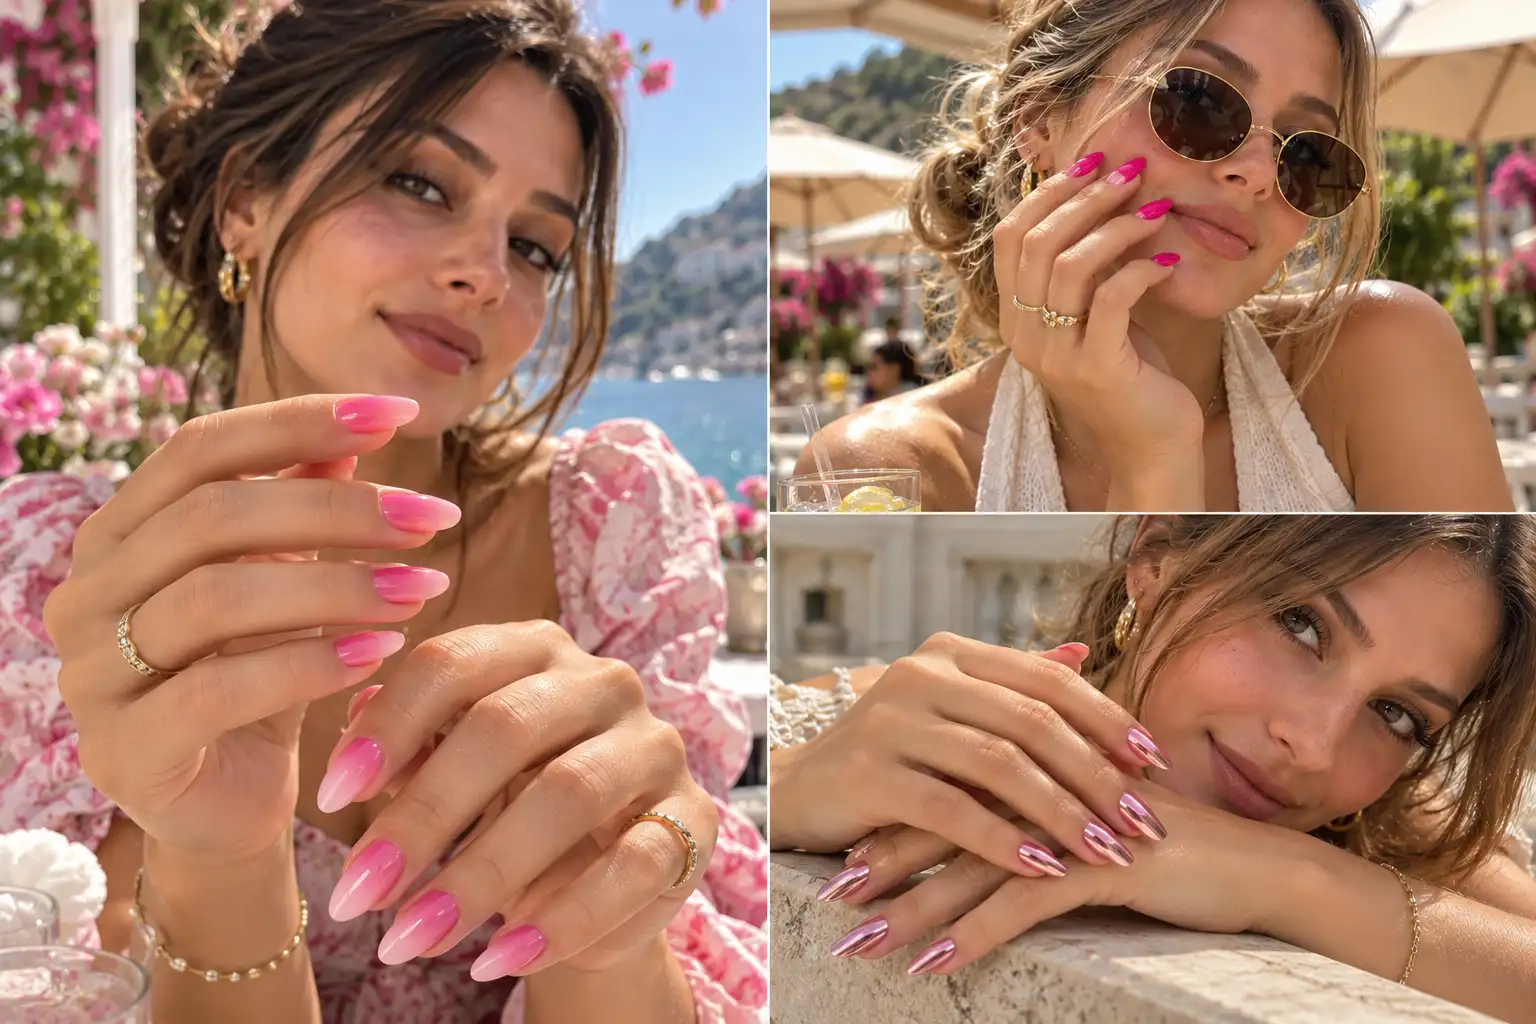
Pink has never really left the nail trend rotation, but summer 2026 is genuinely pushing the color in more interesting directions than a simple solid coat. Chrome finishes, hazy aura effects, and tiny hand-painted strawberries are all showing up across the exact same core color family, which means there is a genuinely wide range of looks to choose from without ever leaving pink behind entirely.
Below are 11 pink summer nail ideas pulled from what is actually trending right now, each with a detailed explanation of how to actually recreate it at home or bring a clear reference to your nail technician.
11 Pink Summer Nail Ideas and How to Create Them
Each idea below includes the specific products and technique needed to pull off the look, whether you are doing this yourself or want to describe it clearly at a salon appointment.
More in Nail Ideas:
- 15 Easy Fall Nail Designs You Can DIY at Home
- 16 Gorgeous Short Square Nails You’ll Want ASAP
- 14 Squoval Nail Designs That Feel Editorial
- 12 Pumpkin Spice Nail Designs for Short and Long Nails
1. Candy Floss Ombré
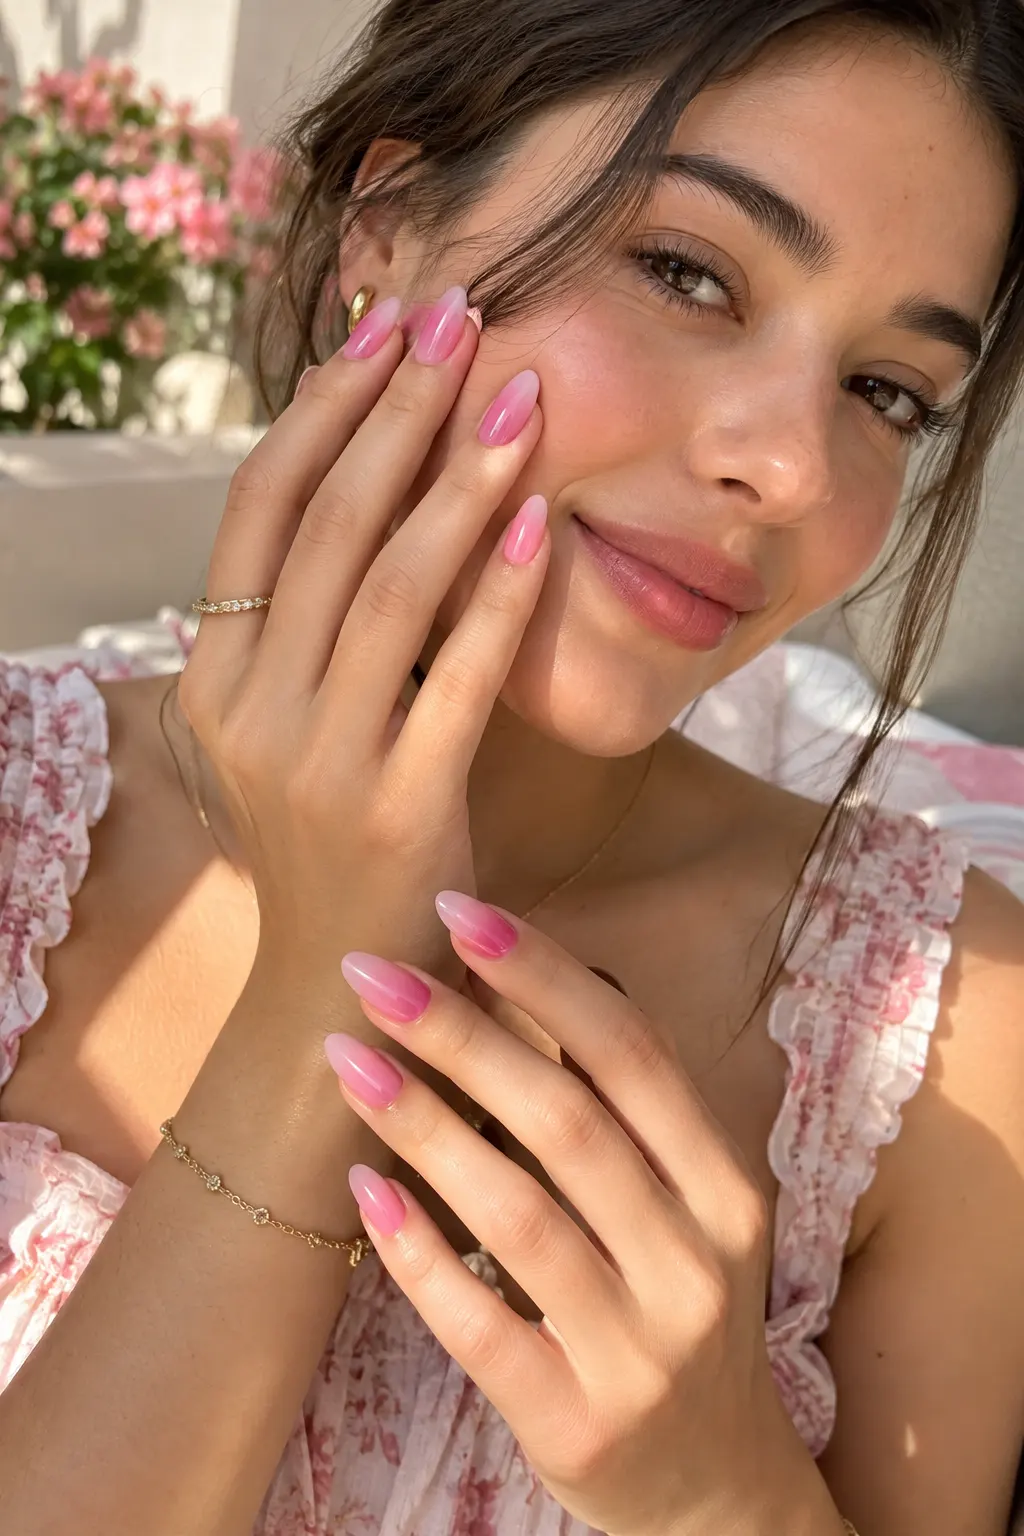
This look blends a juicy strawberry pink into a sheer blush tone for a soft, gradient effect that feels genuinely playful without being overly bold. The gradient itself is really the star, moving smoothly from saturated color at the base or tip toward a nearly sheer finish.
- A saturated strawberry pink polish
- A sheer blush pink polish
- A makeup sponge for blending
- A clear top coat to seal the gradient
How to Create It: Apply the sheer blush pink as your base coat and let it dry fully, then dab the strawberry pink polish onto a makeup sponge and press it repeatedly onto either the tips or the base of the nail, building up the color gradually until the transition looks smooth, and finish with a clear top coat once fully dry.
2. Fuchsia Pop
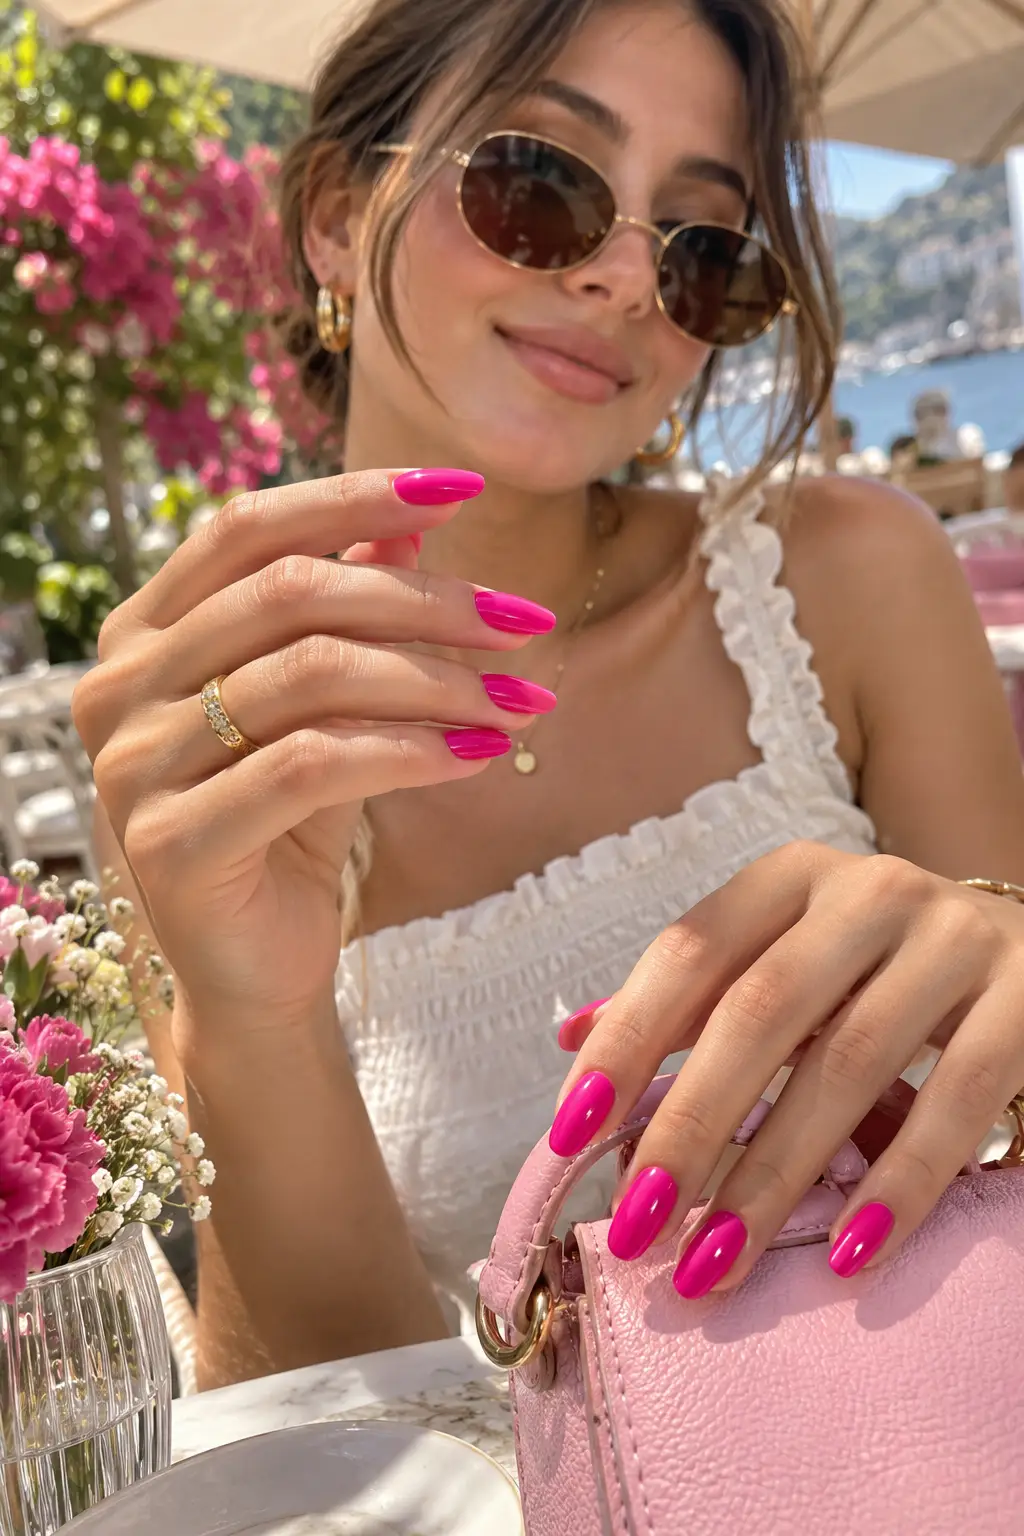
This is a bold, full-coverage statement look built entirely around a saturated, high-shine hot pink. There is no gradient or design element involved here, which makes it one of the fastest looks on this entire list to actually apply.
- A highly pigmented fuchsia or hot pink polish
- A base coat to protect the natural nail
- A high-shine, glossy top coat
How to Create It: Apply the base coat first, follow with two even coats of the fuchsia polish for full opacity, and finish with a glossy top coat to maximize the shine that makes this look feel like a genuine statement.
3. Cat-Eye French Tips in Pink
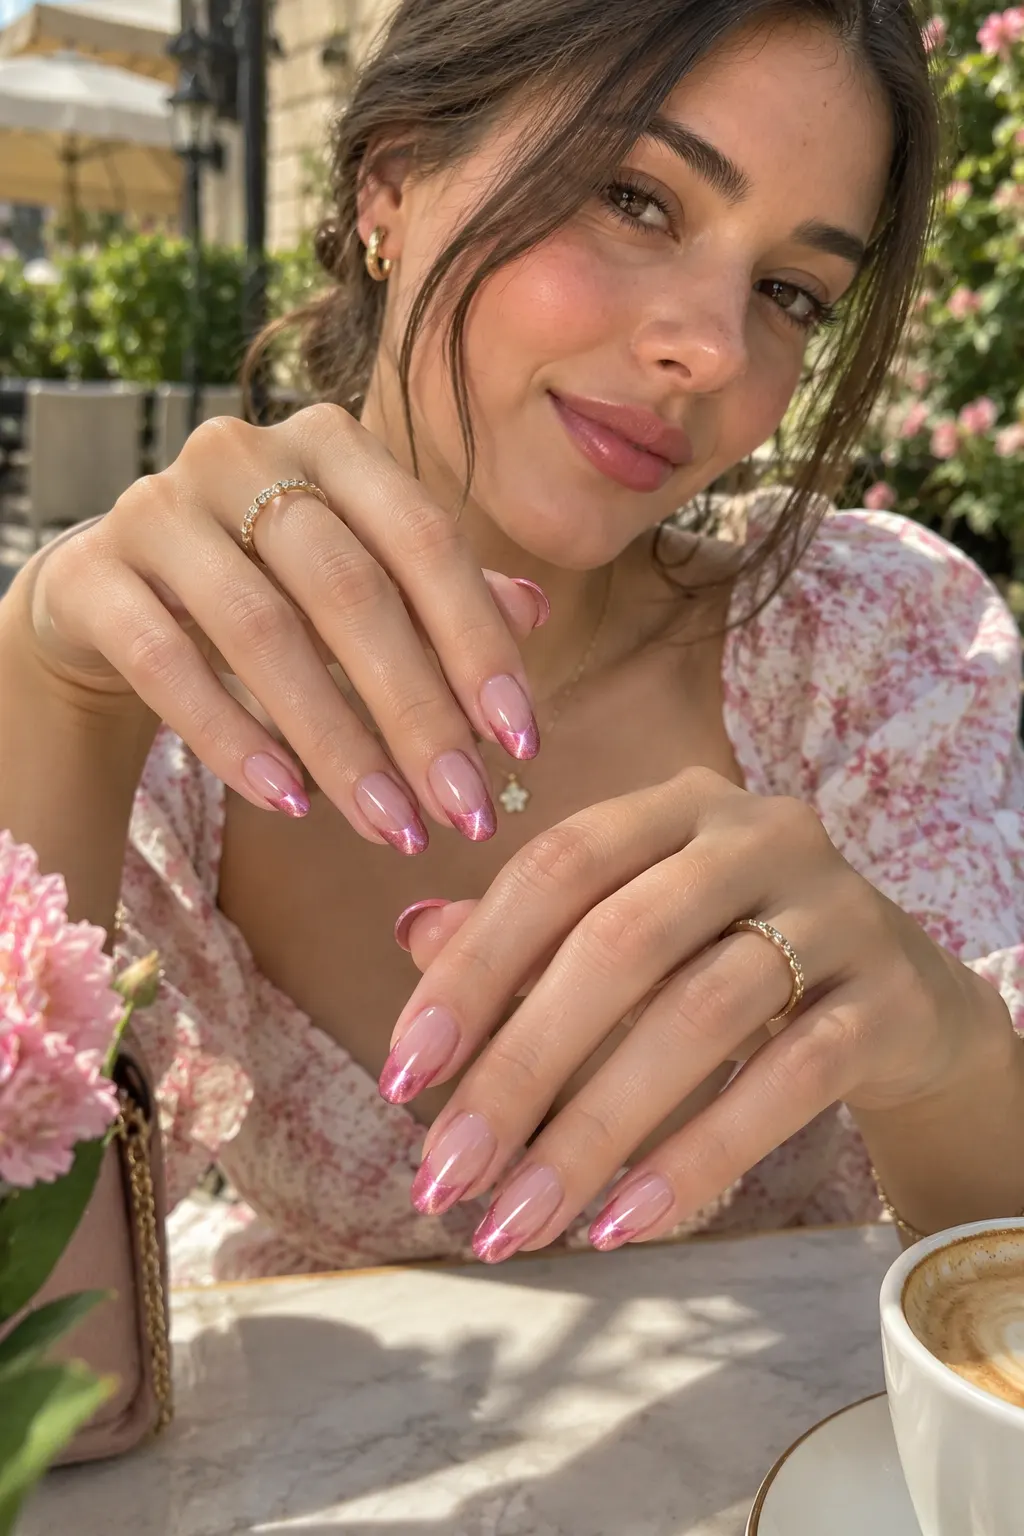
This design uses magnetic polish specifically on the tip of the nail to create a shimmering, cat-eye effect layered into a classic French manicure structure. The magnetic pull creates a streak of light that shifts depending on the angle you view it from.
- A sheer or nude base polish
- A magnetic cat-eye polish in a pink tone
- A small magnet tool, usually included with cat-eye polish
- A top coat to seal the finished design
How to Create It: Paint the base color across the whole nail and let it dry, then apply the magnetic pink polish only to the tip area, hold the magnet close to the wet polish without touching it for several seconds to pull the magnetic particles into a cat-eye pattern, and seal with a top coat once the effect has set.
4. Aura Nails in Pink
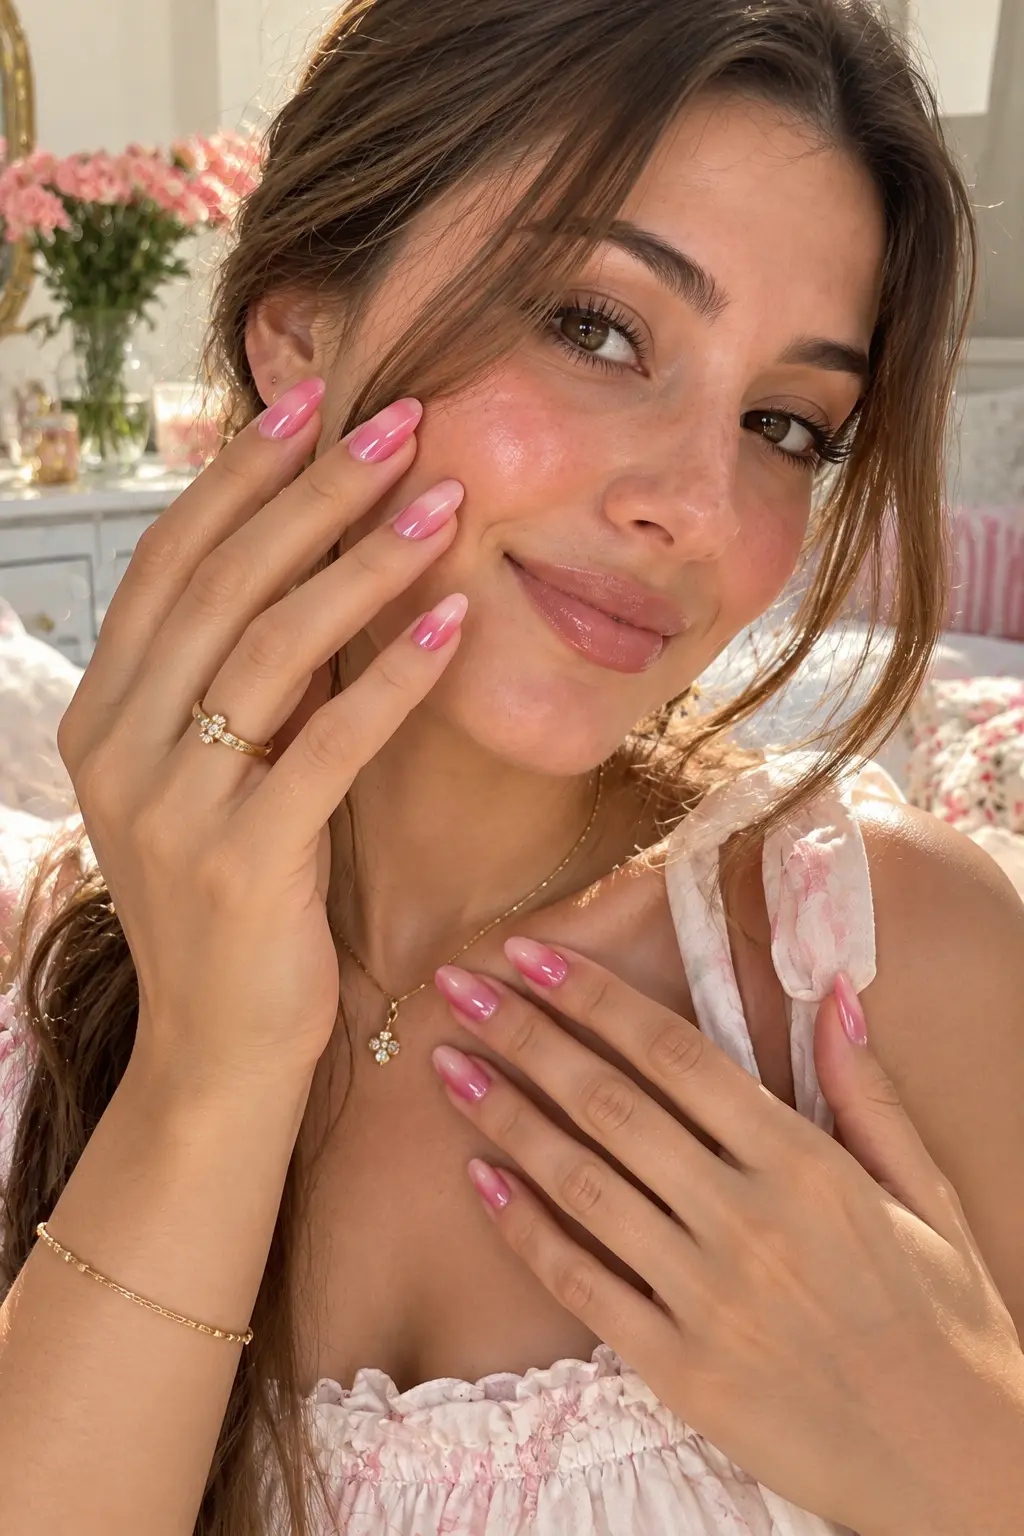
This hazy, blended gradient effect has become one of the biggest nail trends for summer 2026, using warm pink tones that blur into each other rather than sitting in defined, separate sections like a traditional ombré.
- A white or nude base polish
- Two or three pink polishes in varying saturation levels
- A small, dense makeup sponge or dotting tool
- A top coat to finish
How to Create It: Apply the white or nude base and let it dry completely, then dot small amounts of each pink shade onto the sponge and press repeatedly in the center of the nail, blending outward in a circular motion so the colors soften into each other with no hard edges, finishing with a top coat.
5. Pink Chrome
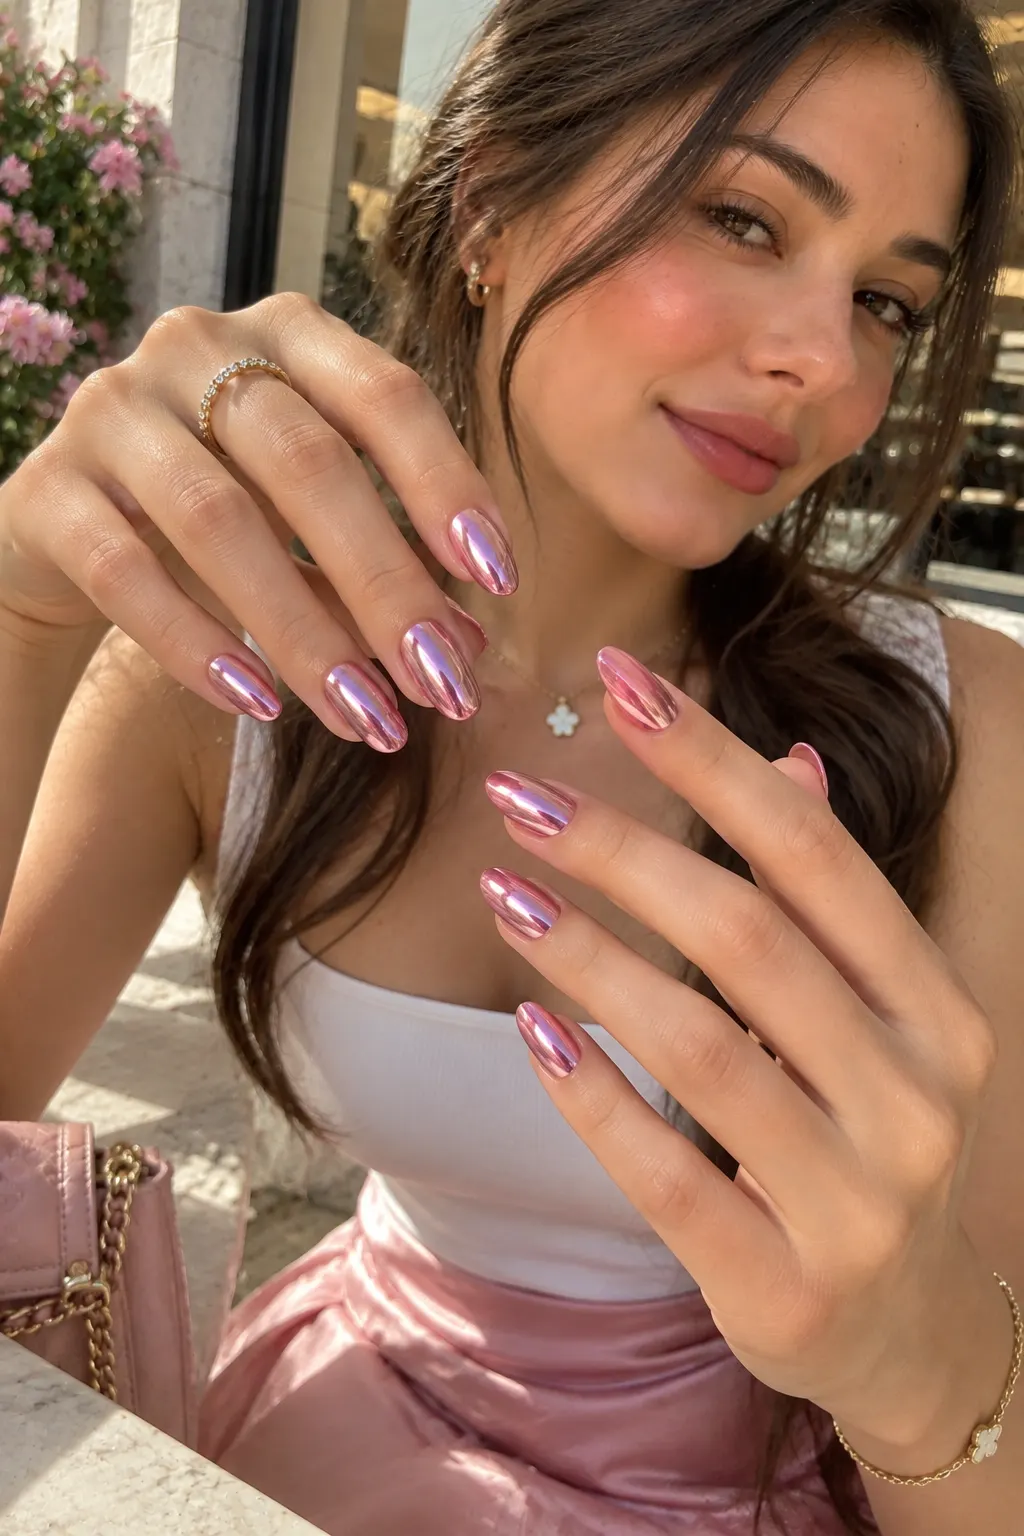
This mirror-like metallic pink finish delivers a genuinely futuristic, glossy look using chrome powder rather than a standard polish alone. The reflective quality is what sets this apart from any other pink look on this list.
- A pink gel polish base, cured under a UV or LED lamp
- Chrome powder in a pink or holographic pink tone
- A small applicator or sponge for the chrome powder
- A no-wipe top coat suited for chrome application
How to Create It: Apply and cure the pink gel base coat fully, buff the surface lightly if needed for a smooth finish, apply the no-wipe top coat and cure it, then rub the chrome powder directly onto the tacky surface using the small applicator until the full mirror effect appears, sealing with a final top coat.
6. Water Splash Pink
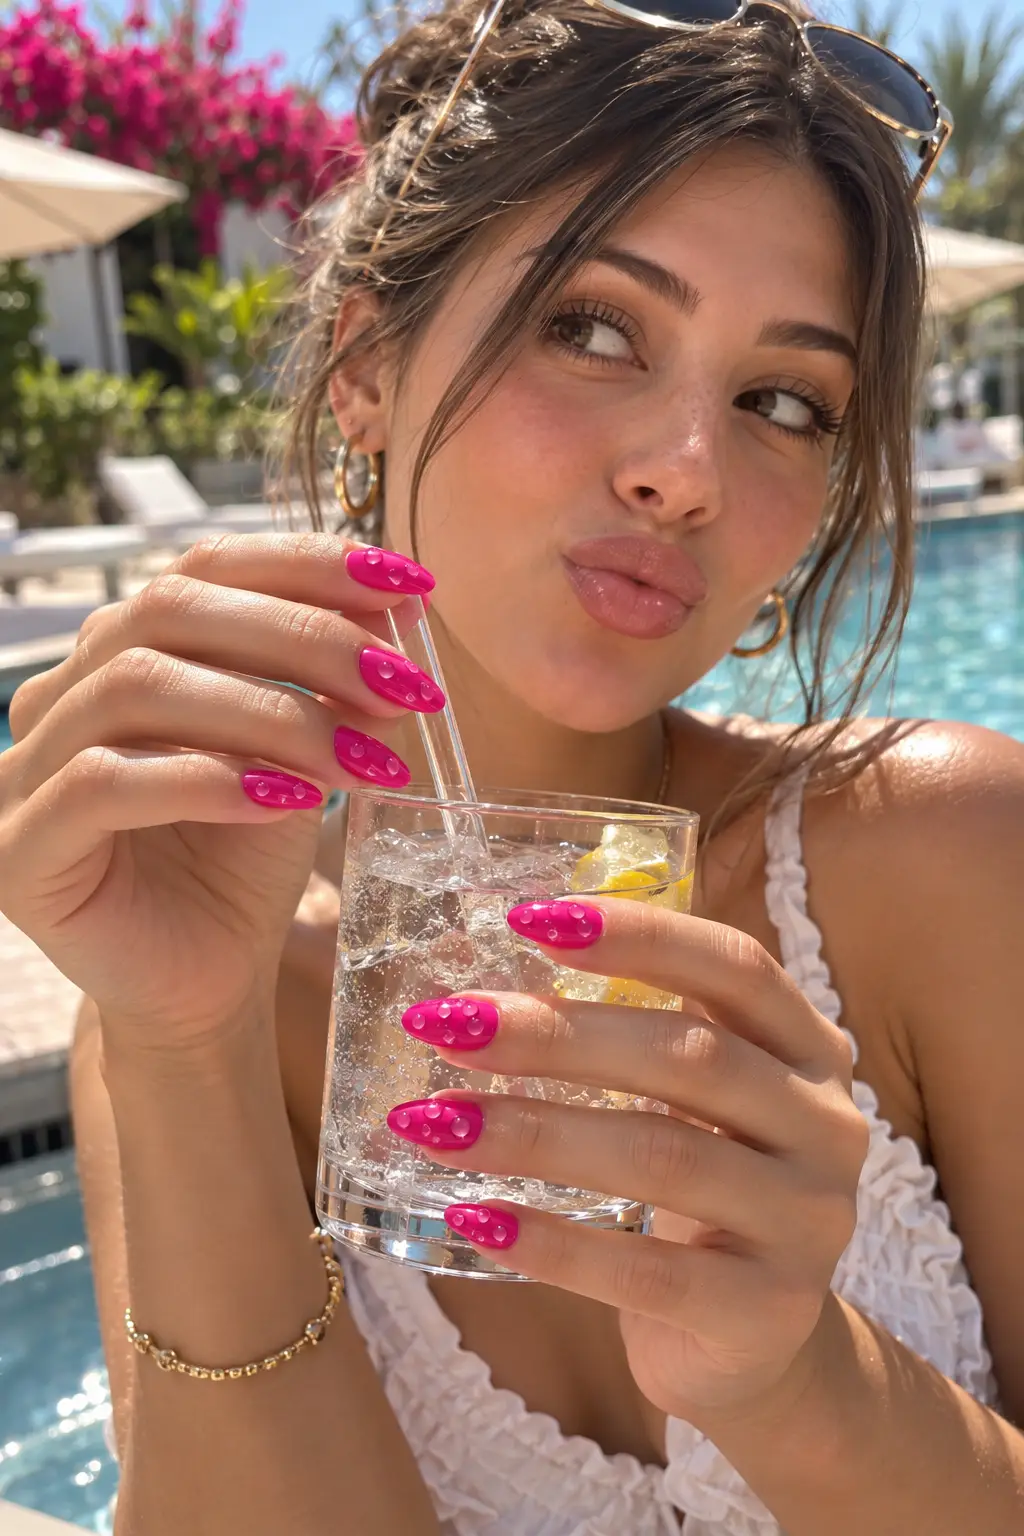
This look uses a bright pink base with subtle 3D gel details designed to mimic water droplets sitting on the nail’s surface, adding genuine dimension rather than a flat, painted design.
- A bright pink base polish or gel
- Clear 3D gel or a gel dot medium
- A fine detail brush or dotting tool
- A top coat to finish and protect the raised details
How to Create It: Apply and dry the bright pink base fully, then use a fine brush or dotting tool to place small dots of clear 3D gel across the nail in a scattered, droplet-like pattern, curing each layer if using gel, and finish with a top coat once the raised droplets have fully set.
7. Ice Cream Swirl
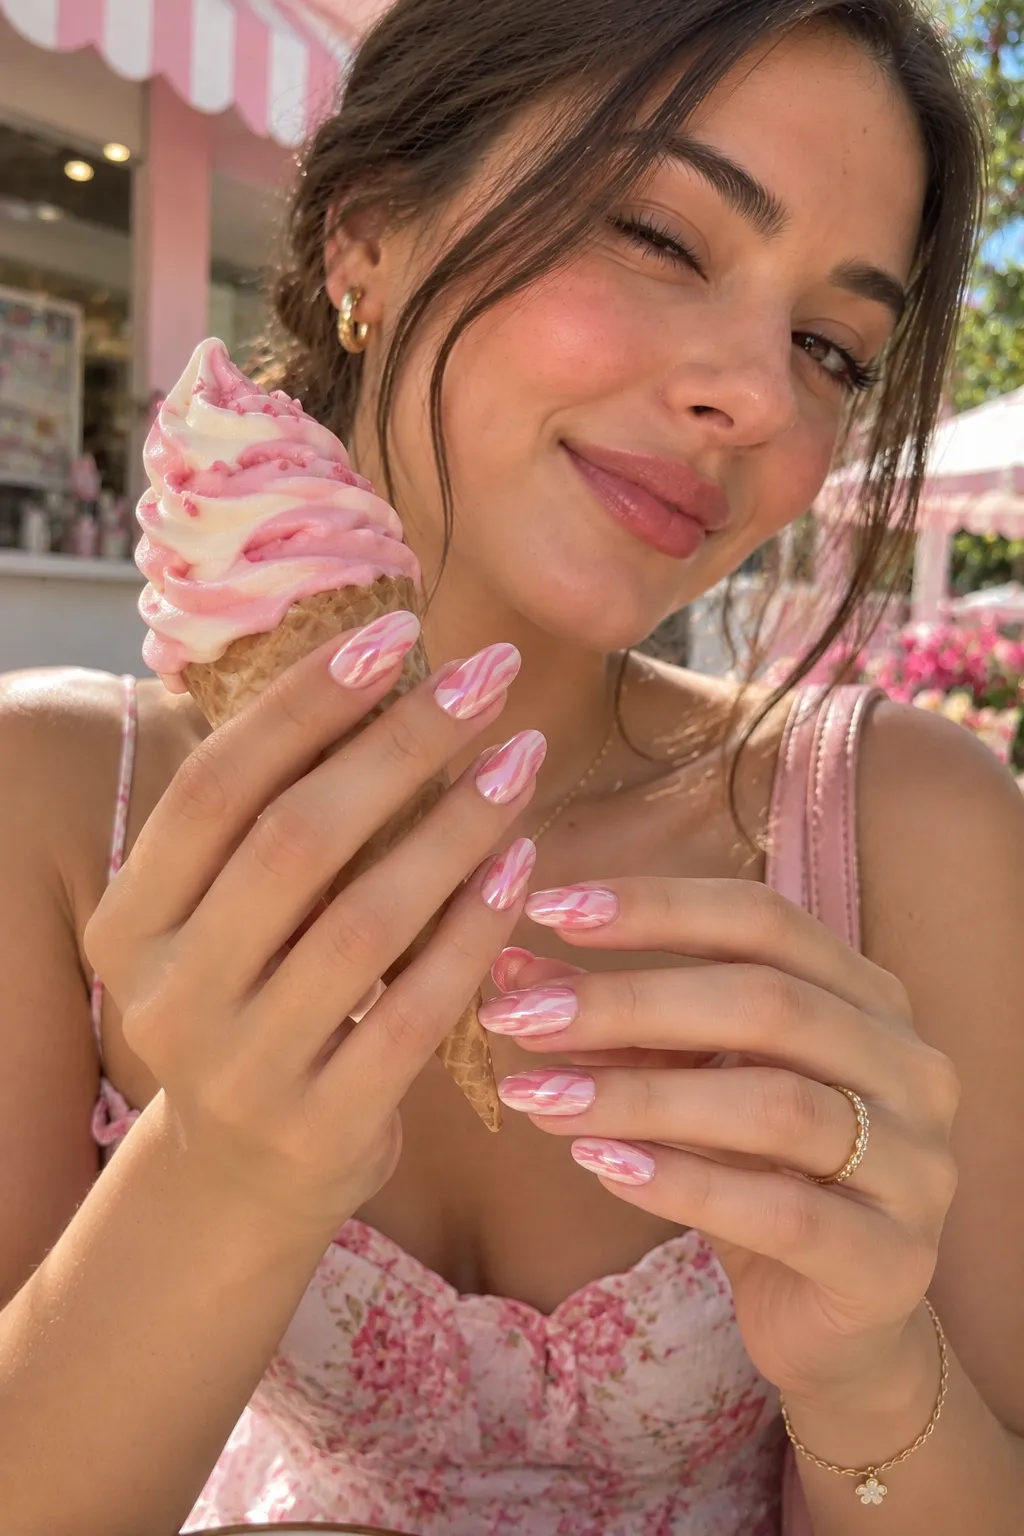
This playful design creates a marbled, swirled pattern using pink and white polish together, resembling soft-serve ice cream more than a typical structured nail art design.
- A white base polish
- A pink polish in a similar consistency to the white
- A thin nail art brush or toothpick for swirling
- A top coat to seal the finished swirl
How to Create It: Apply the white base and let it dry, then paint small sections of pink polish onto the nail while it is still slightly wet or immediately after, using a thin brush or toothpick to drag and swirl the two colors together in a marbled pattern before they fully set, finishing with a top coat.
8. Strawberry Dream

This design pairs a pink base with tiny, hand-painted strawberry accents placed on just one or two nails, delivering a sweet, playful detail without covering every single nail in the same busy pattern.
- A soft pink base polish for most nails
- Red polish for the strawberry shape
- Green polish for the small strawberry leaves
- A fine detail brush for the hand-painted accents
How to Create It: Paint the pink base across all nails and let it dry, then on one or two accent nails, paint a small red teardrop shape for the strawberry body, add tiny yellow or white dots for seeds once dry, and finish with small green strokes at the top for the leaves before sealing everything with a top coat.
9. Pastel Pink Milk Bath
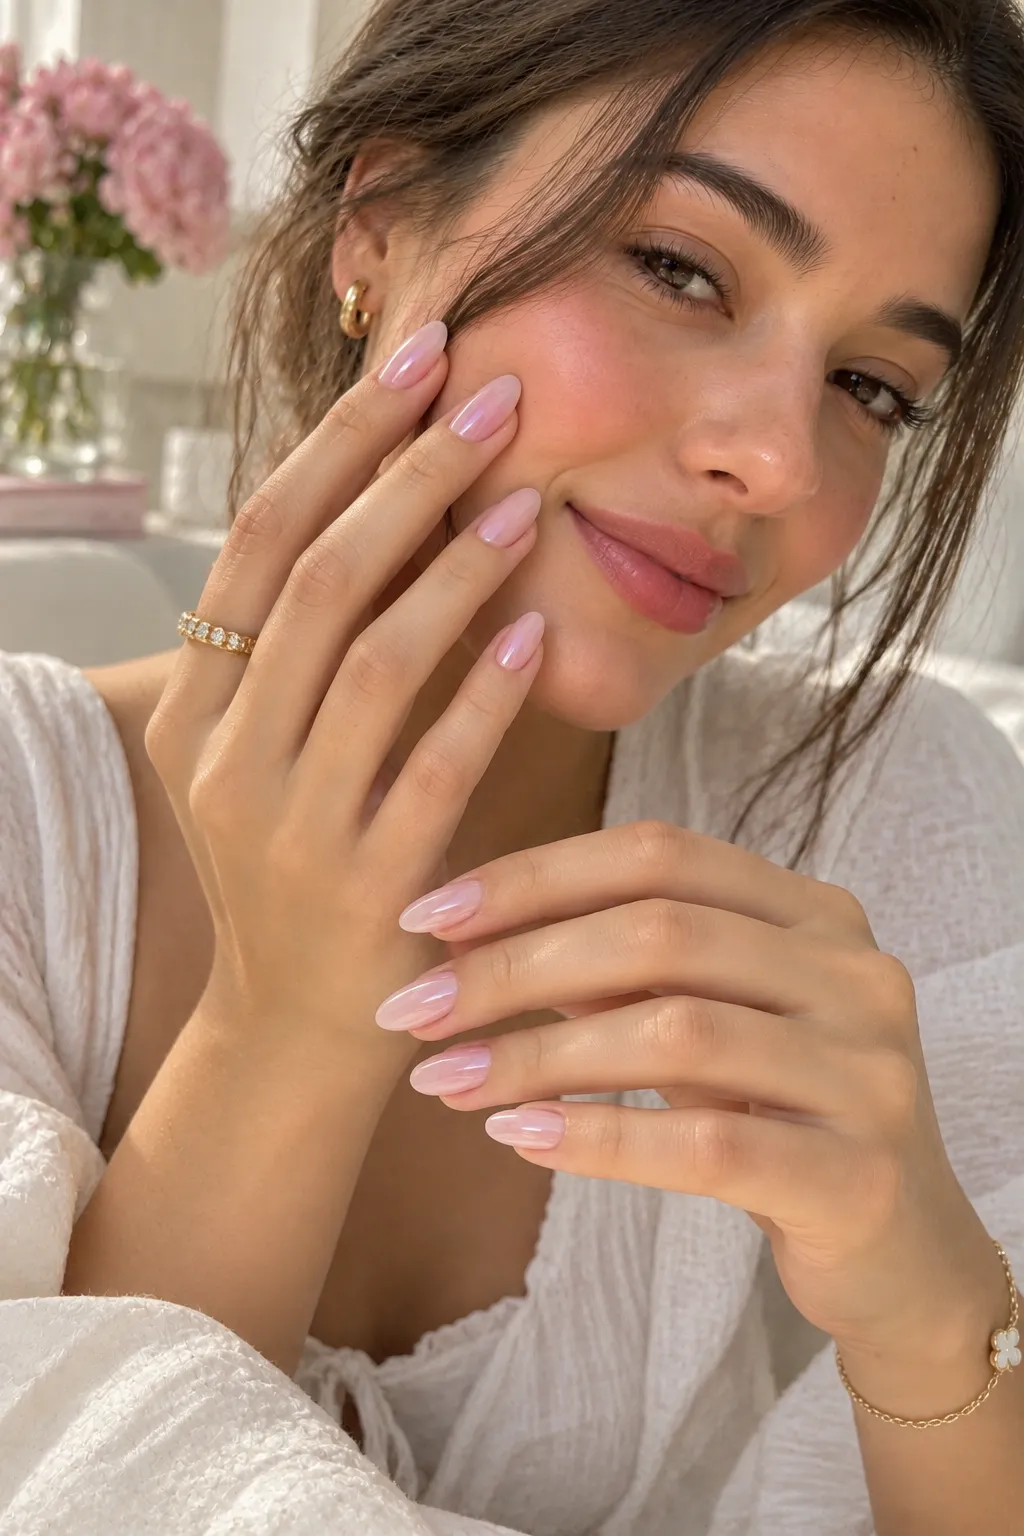
This soft, sheer, milky pink finish is genuinely minimalist and reads as distinctly clean-girl coded, relying on a barely-there wash of color rather than full, opaque coverage.
- A sheer, milky pink polish specifically formulated for a soft wash of color
- A base coat for nail protection
- A glossy top coat to finish
How to Create It: Apply the base coat first, follow with one or two thin coats of the sheer milky pink polish, allowing the natural nail to show through slightly for that soft, milky effect, and finish with a glossy top coat.
10. Pink and Gold Foil Accents
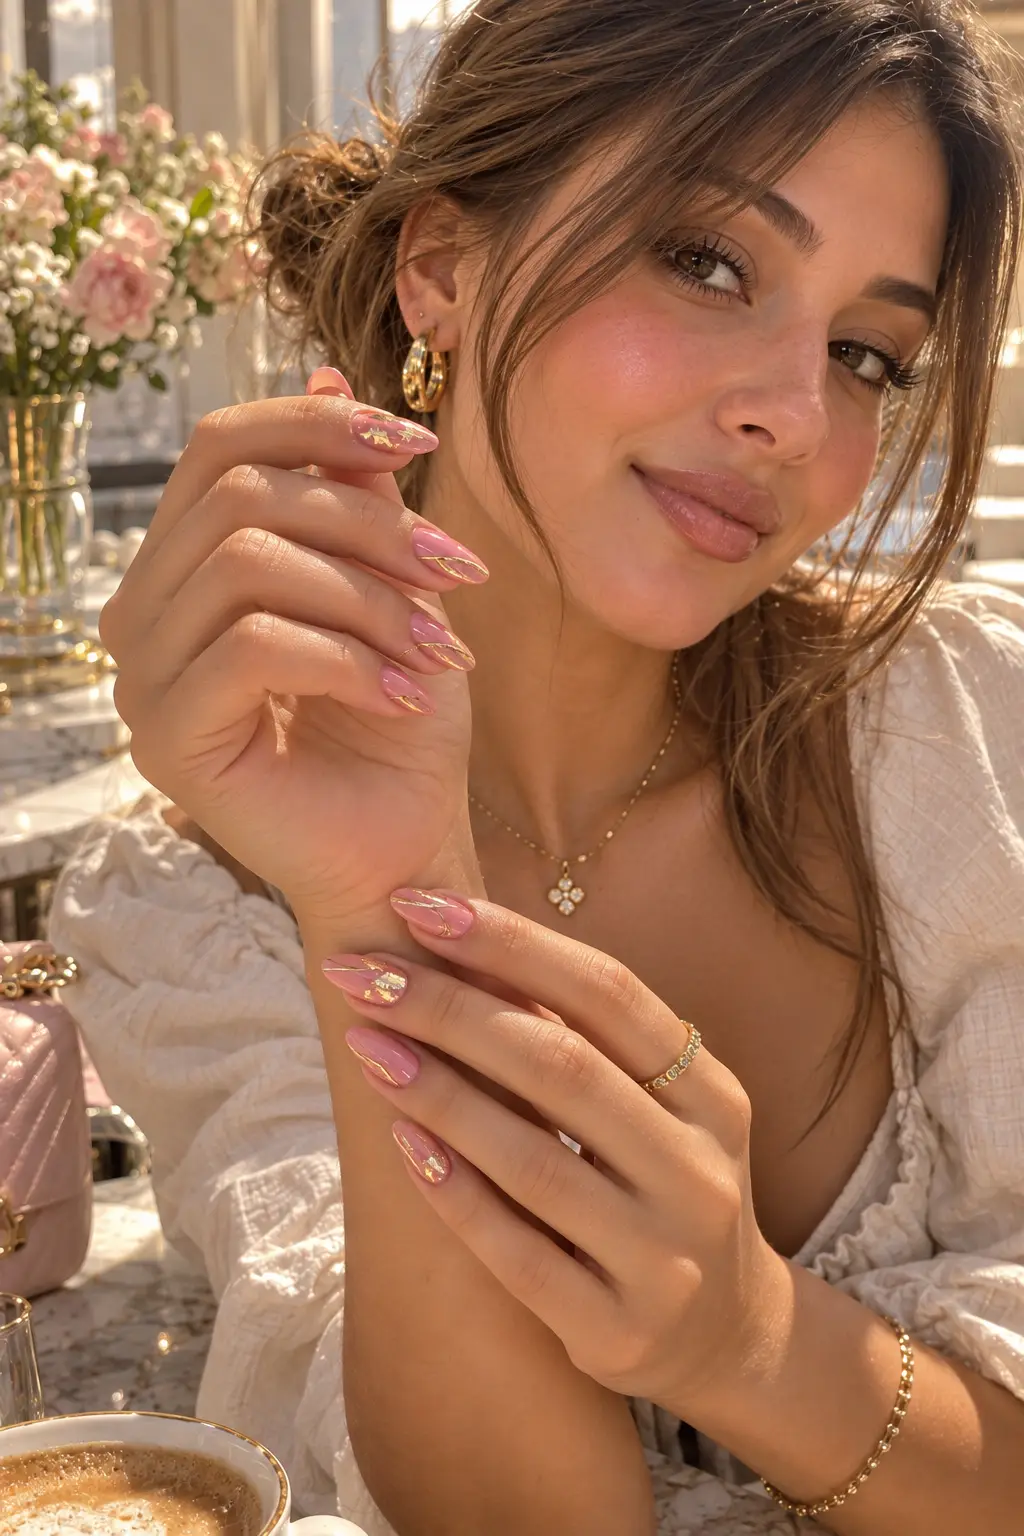
This elevated look pairs a pink base with cracked gold foil or fine gold striping, introducing a bit of metallic luxury without covering the entire nail in a busy pattern.
- A pink base polish
- Gold leaf foil or a fine gold striping polish
- Nail glue or adhesive, if using foil sheets
- A top coat to seal the metallic detail
How to Create It: Apply and dry the pink base fully, then either press small pieces of gold foil onto a thin layer of nail glue for a cracked, organic pattern, or use a fine striping brush to paint delicate gold lines across the nail, sealing the finished design with a top coat.
11. Negative Space Pink Geometric
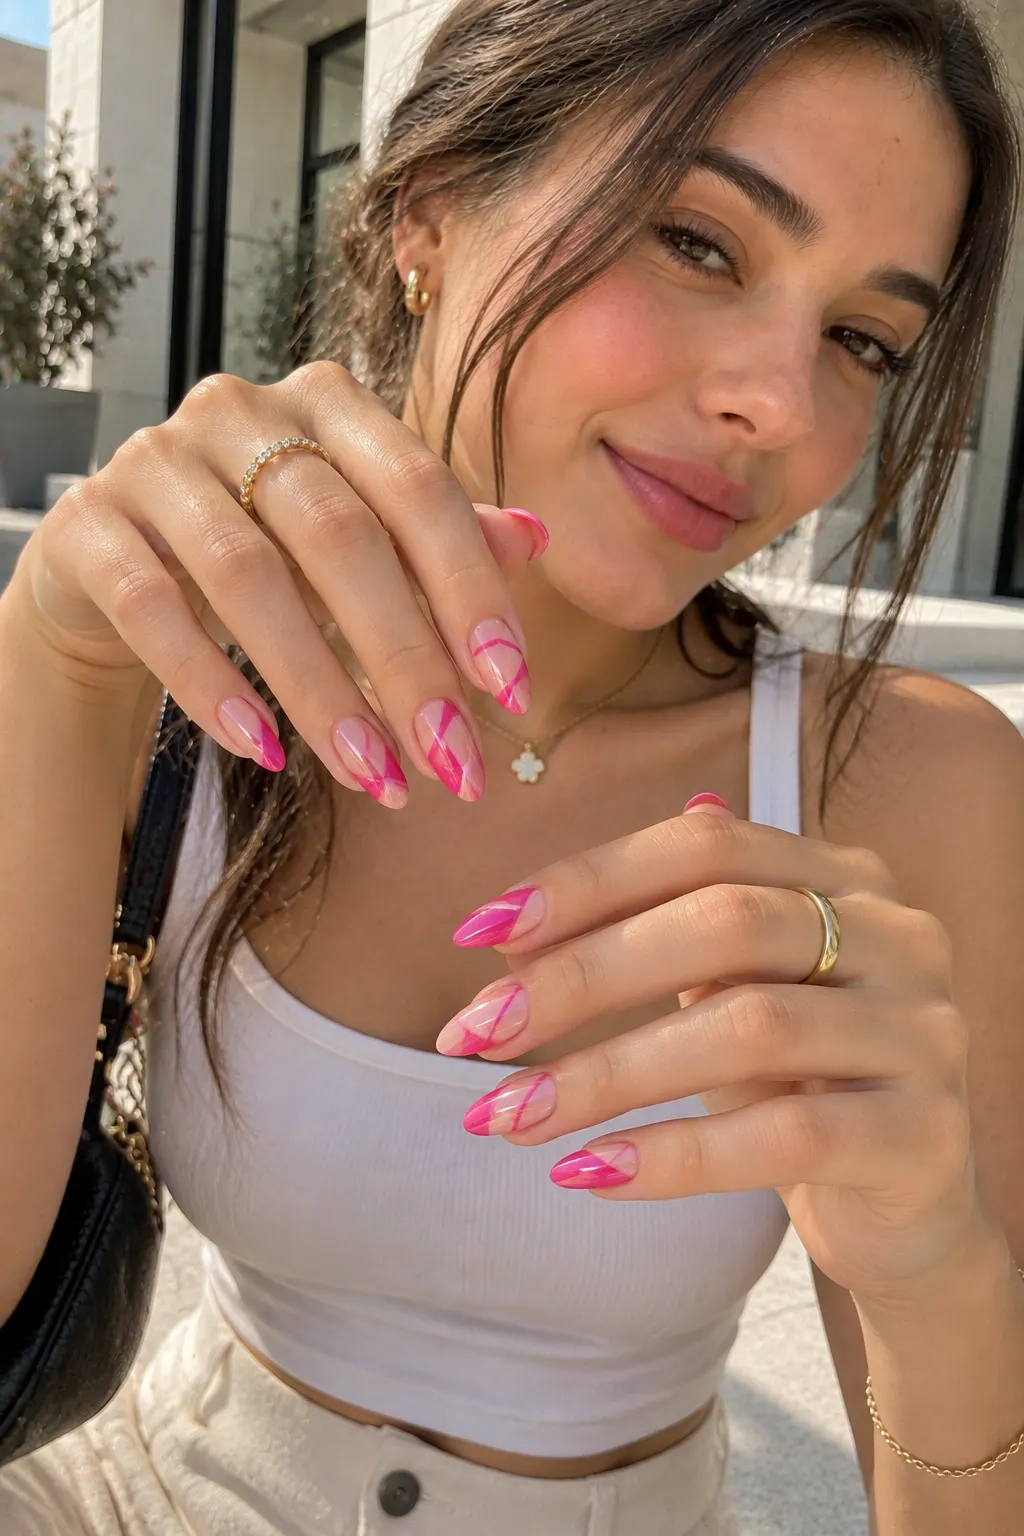
This edgy, modern look uses unpainted geometric cutouts over a bold pink base, letting the natural nail show through in deliberate shapes rather than covering the entire surface.
- A bold pink base polish
- Nail vinyl stickers or striping tape for masking geometric shapes
- A fine detail brush for touch-ups
- A top coat to finish
How to Create It: Apply nail vinyls or striping tape in your chosen geometric pattern onto the clean, dry nail before painting, apply the pink polish over and around the tape, then carefully peel away the vinyl or tape once the polish is dry to reveal the unpainted negative space shapes underneath, finishing with a top coat.
Final Thoughts
Pink genuinely has more range this summer than it usually gets credit for, moving from a soft, sheer milk bath finish all the way to a reflective chrome effect and a bold geometric negative space design, without the underlying color ever really changing.
Pick whichever look matches your comfort level with nail art, whether that is a simple one-step fuchsia manicure or a more involved aura gradient, and use the specific steps above either to recreate it yourself or to describe exactly what you want at your next salon appointment.